
It’s great to see Android Q beta 3 with so many new features, but it’s also great to see the beta open up to non-Pixel phones. Here’s how to get Android Q beta 3 for compatible non-Pixel phones.
Asus Zenfone 5Z
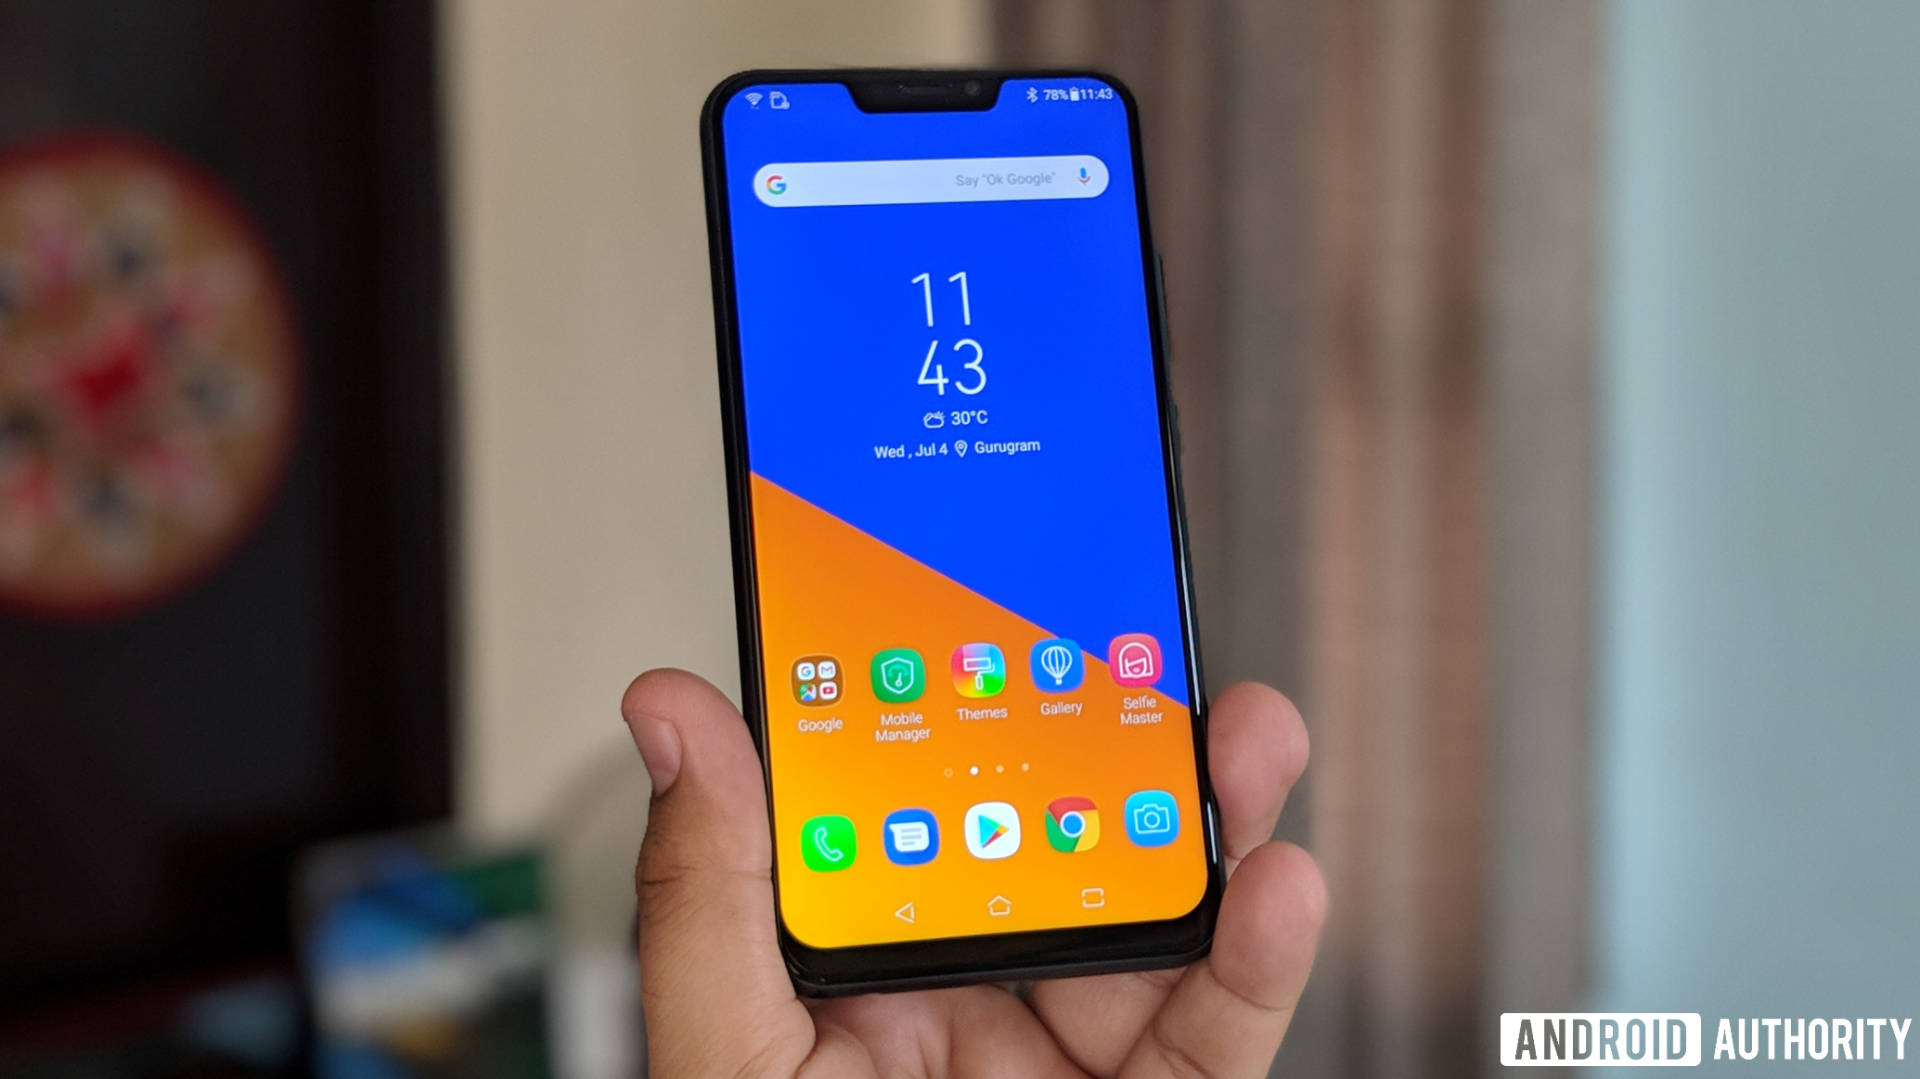
According to Asus, known issues include SD cards with exFAT format not being supported and no beep when the volume up or down buttons are pressed.
- Turn off your Zenfone 5Z.
- Hold down the Power and Volume Up buttons until your phone reboots.
- Connect your Zenfone 5Z to your PC.
- Download and decompress the Android Q’s image file.
- Double-click on “update_image.bat,” which starts the flash image command
- When the flash finishes, hit the Enter key to restart your Zenfone 5Z.
Essential Phone
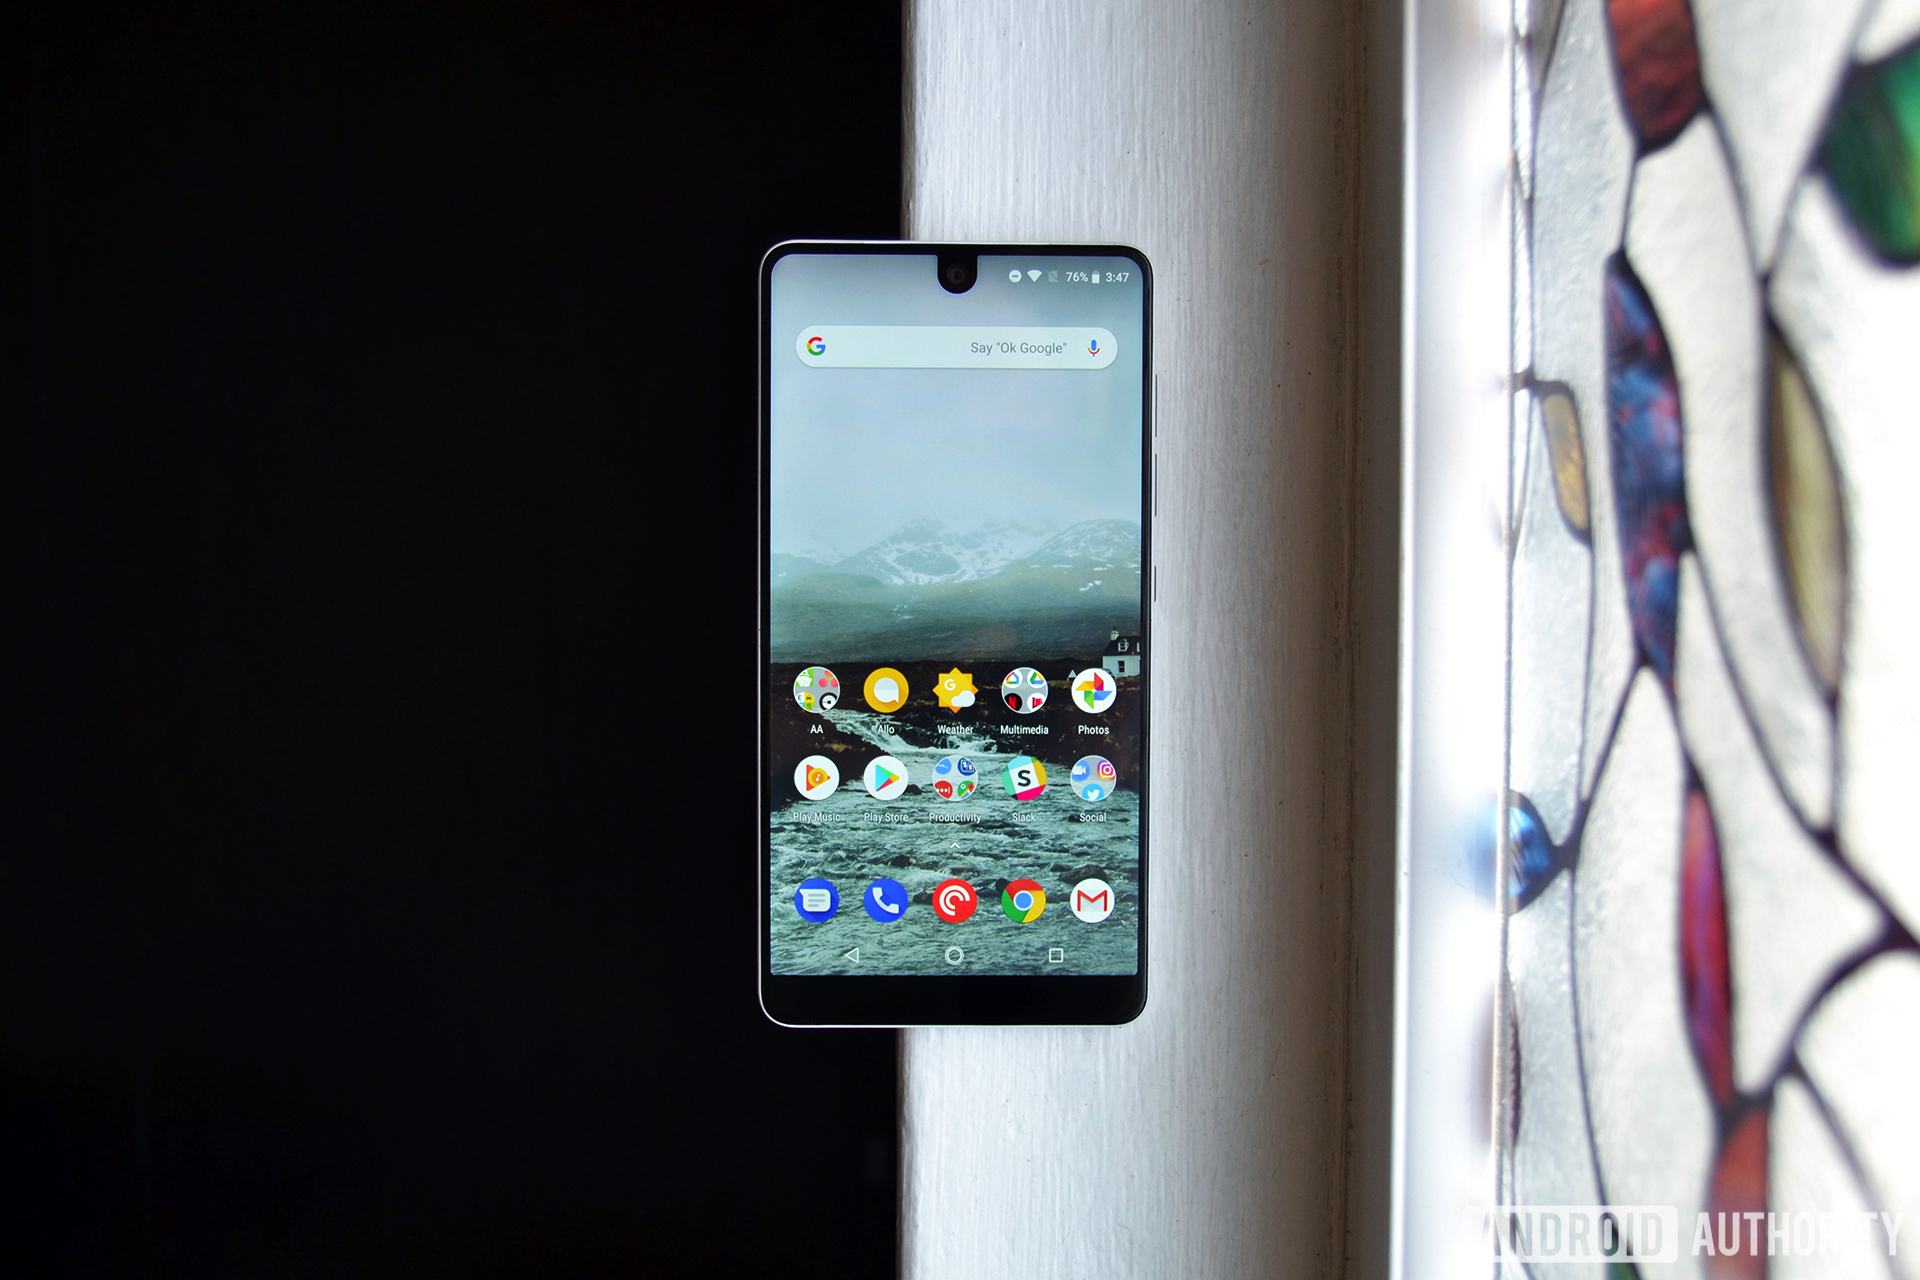
Before we start, make sure to download the factory image. Also, download the fastboot tool from the Android SDK Platform-Tools package and add it to your path so the flash scripts can find it.
Finally, turn on OEM Unlocking and USB Debugging from within Developer options. To get to developer options, tap the build number multiple times until you see the “You are now a developer!” pop-up message.
- Connect your Essential Phone to your PC.
- Use the ADB tool to run the command adb reboot bootloader
- Reboot your phone while holding the Volume Down button.
- Unlock your bootloader.
- Run the command fastboot flashing unlock
- Use the Volume Down button to go to the YES option and press the Power button to confirm
- While your Essential Phone is rebooting, press and hold the Volume Down button to return to Fastboot mode.
- Flash your factory image.
- Unzip the previously-downloaded factory image and go to where you unzipped the files.
- On Windows, run the command flashall.bat
- On Linux and MacOS X, run the command flashall.sh
- Relock your bootloader
- You don’t have to re-lock your bootloader, though doing so improves security.
- Run the command fastboot flashing lock
- Go back to Fastboot mode and run the command fastboot flashing lock_critical
Huawei Mate 20 Pro
Keep in mind that you must have released at least one app on the Google Play Store and use a Huawei Mate 20 Pro to qualify. Also, your Huawei ID must be registered with the same email address used for your Google Play Store developer account.
Finally, the beta is available from tomorrow, May 8 through June 30. After registration, the first version of Android Q beta 3 will be pushed out this Saturday, May 11. Following versions will be pushed out every Tuesday and Thursday.
You can go here to learn more about possible restrictions.
- Open this link on your Huawei Mate 20 Pro.
- Download and install the Beta app from the aforementioned link.
- Log in to the app with a Huawei ID registered with the Google Play Developer account’s email.
- Sign up for the Huawei Mate 20 Pro Developer project.
LG G8 ThinQ
Before installing Android Q beta 3, LG advises device owners to do a factory reset of their devices. Also, known issues include the camera with limited functionality, SD cards over 32GB not being recognized, Wi-Fi hotspot not working, voice calls over a Bluetooth headset not working, and some apps on the Google Play Store not working due to Q-OS compatibility issues.
Finally, you’ll have to use LG Beta Downloader every time there’s an update.
- Download and install LG Beta Downloader v1.0 or later (only works on Windows).
- Start LG Beta Downloader and follow the displayed instructions.
Nokia 8.1

Note that the beta only supports models TA-1119, TA-1121, and TA-1128 and associated 00WW images. Also, you must go here to sign up for a Nokia account and add the Nokia 8.1 to your account. From there, you can request Android Q beta 3 for your device.
Nokia is cagey on exact instructions, so make sure to have a compatible Nokia 8.1 device and follow the on-screen instructions.
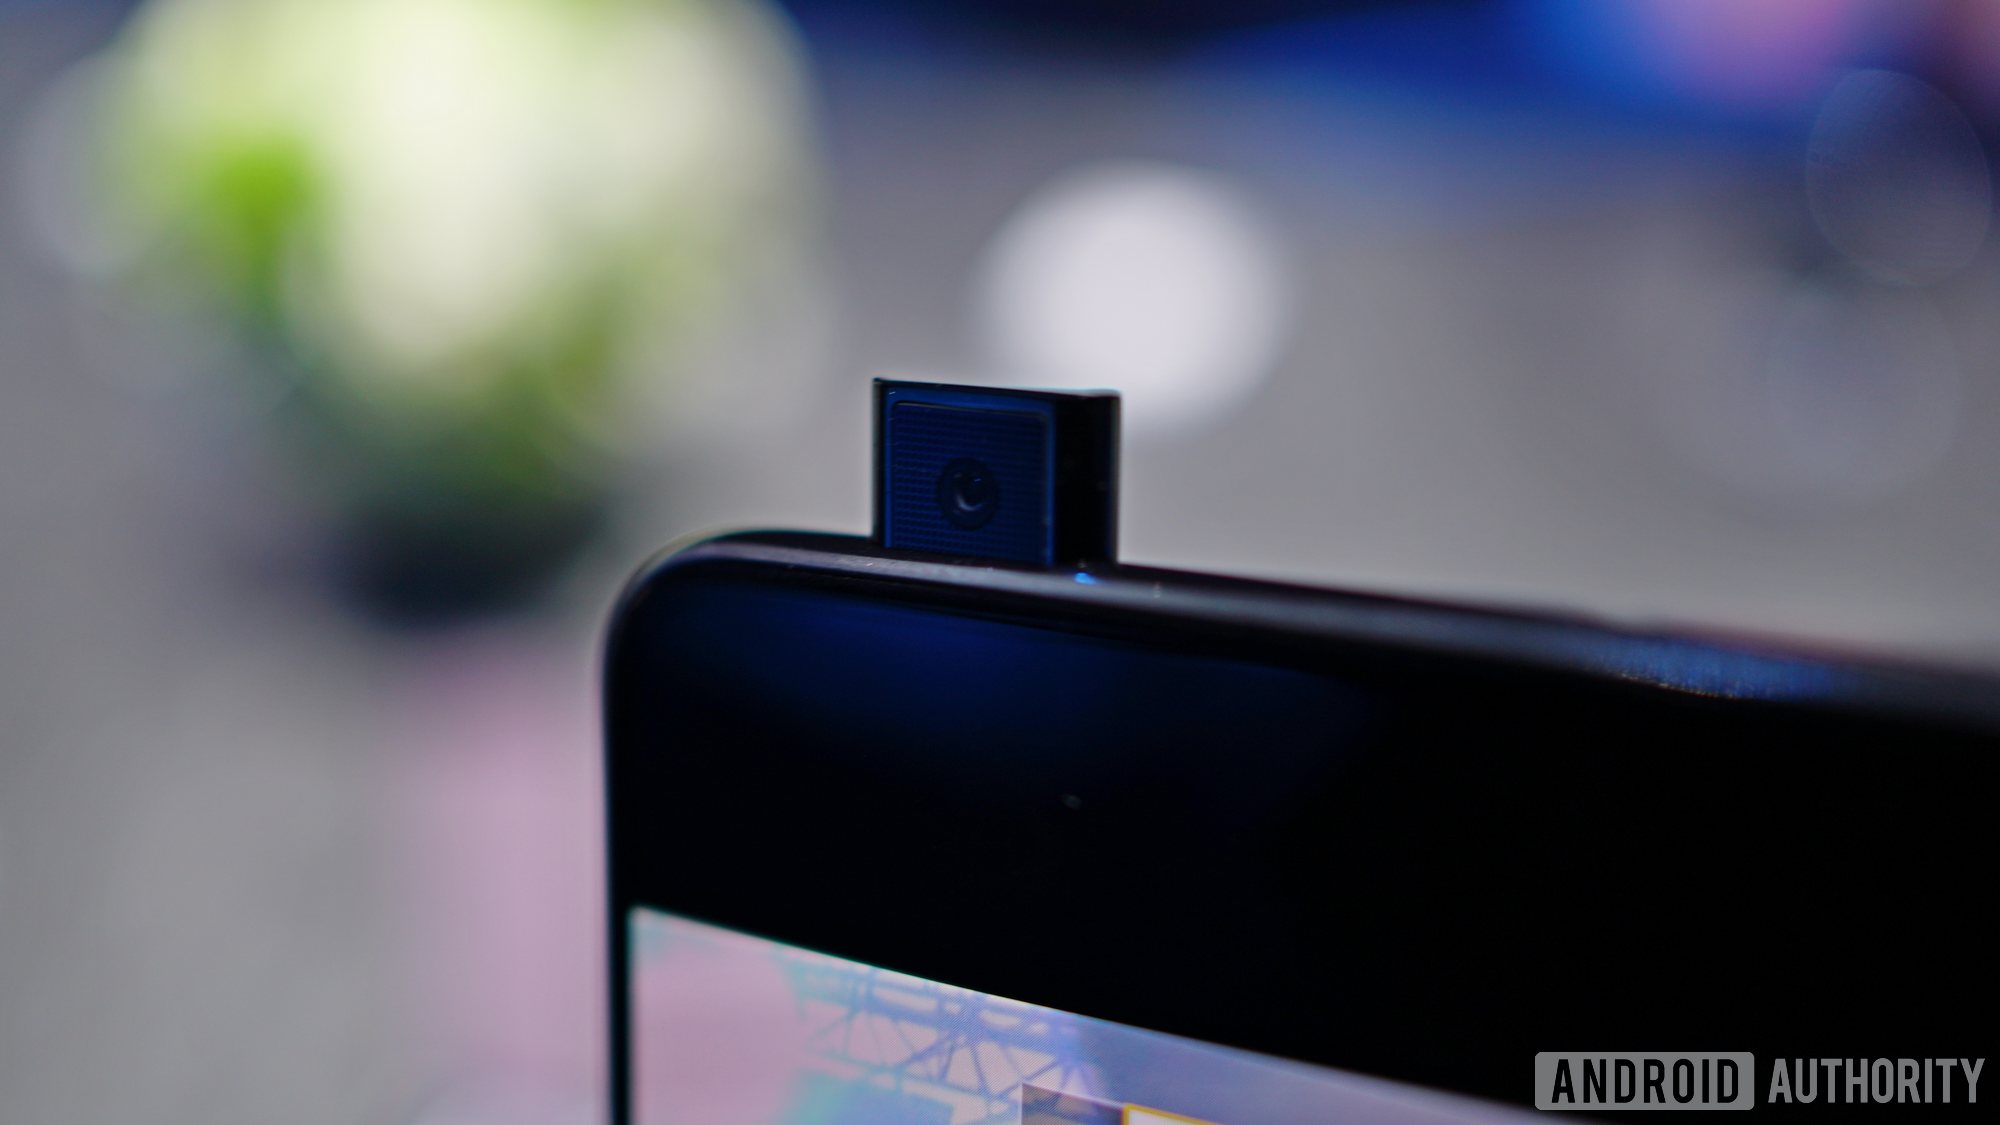
OnePlus 6/6T
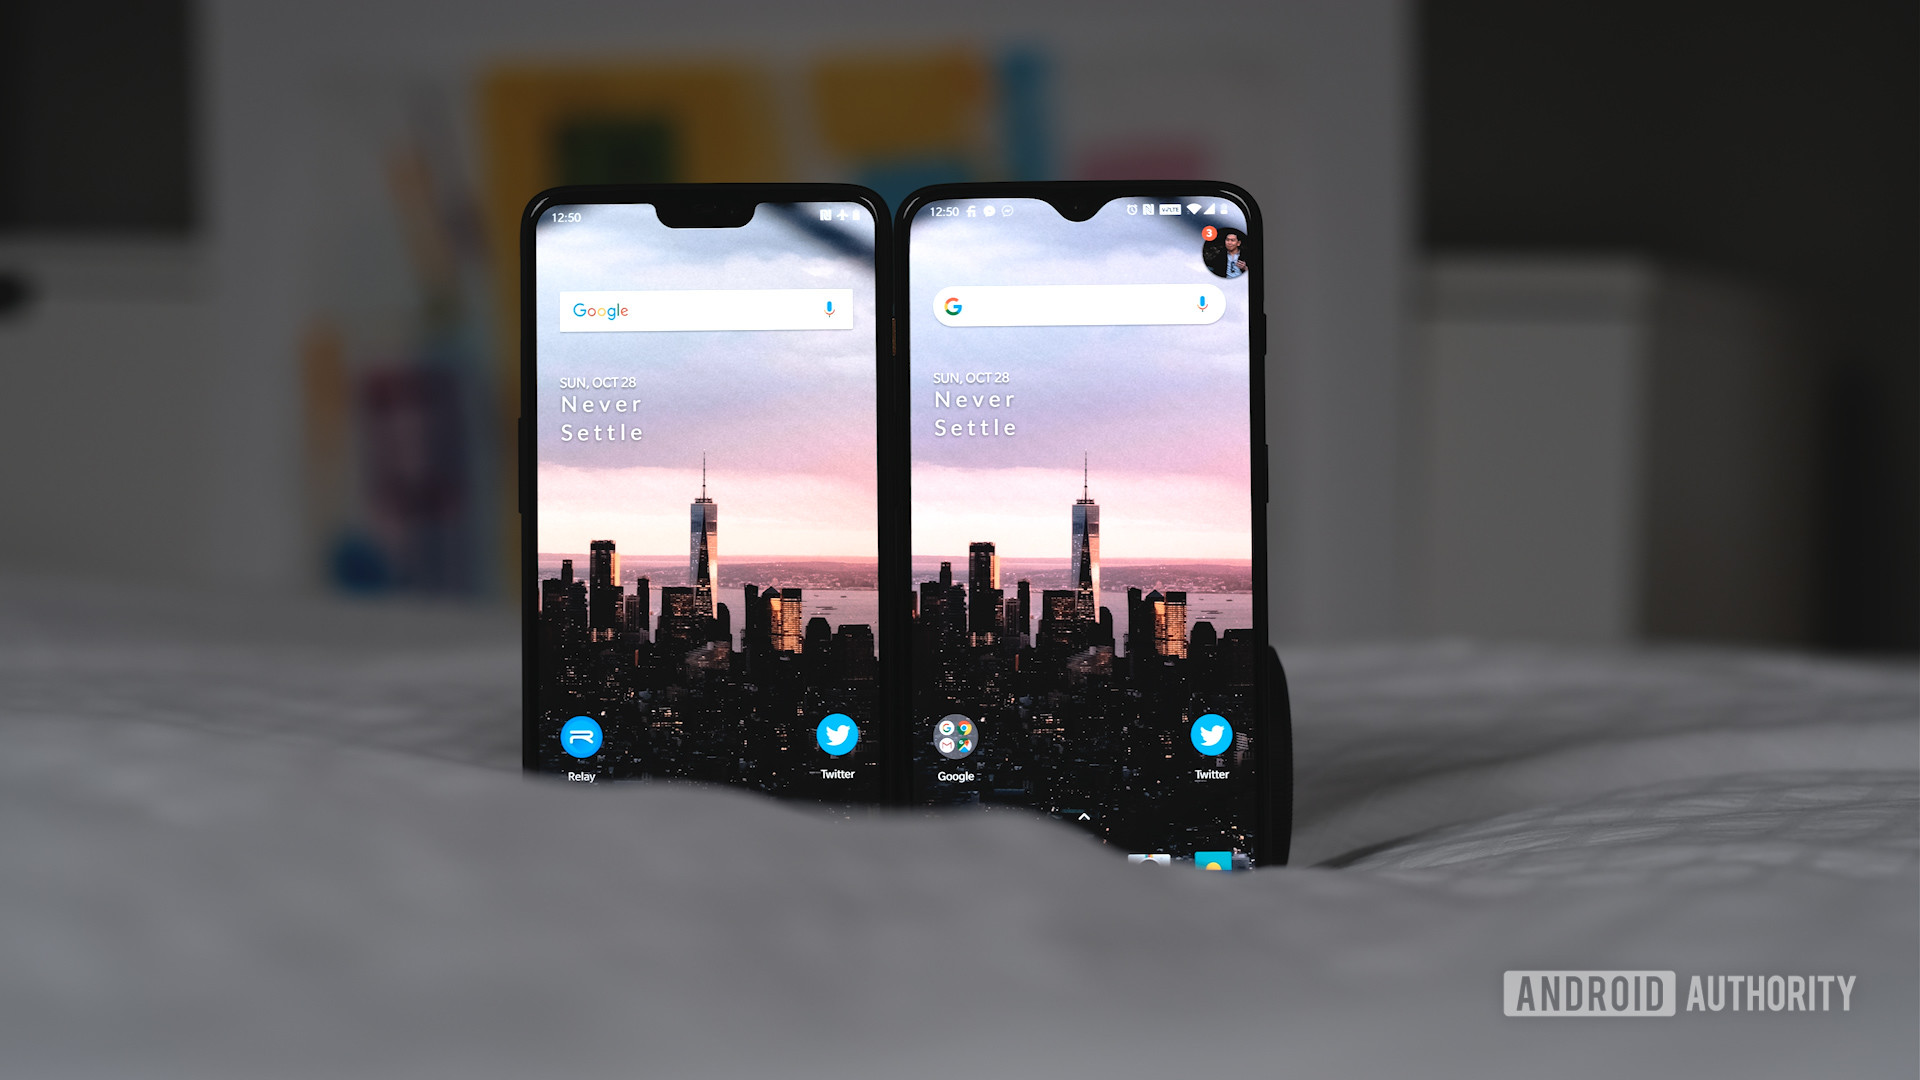
Even though the OnePlus 7 series also supports Android Q beta 3, the phones aren’t out yet. We’ll update this section with any new steps once the OnePlus 7 phones launch.
- Download the latest ROM upgrade zip package from the specified server, which you’ll find below.
- Copy the Rollback package to the phone storage.
- Go to Settings -> System -> System Updates.
- Tap the top right icon, then tap Local upgrade.
- Tap on the corresponding installation upgrade, then tap Upgrade -> System upgrade completed to 100%.
- After the upgrade is complete, tap Restart.
- Your phone will reboot into recovery mode to format user data, then reboot again after updating.
Oppo Reno
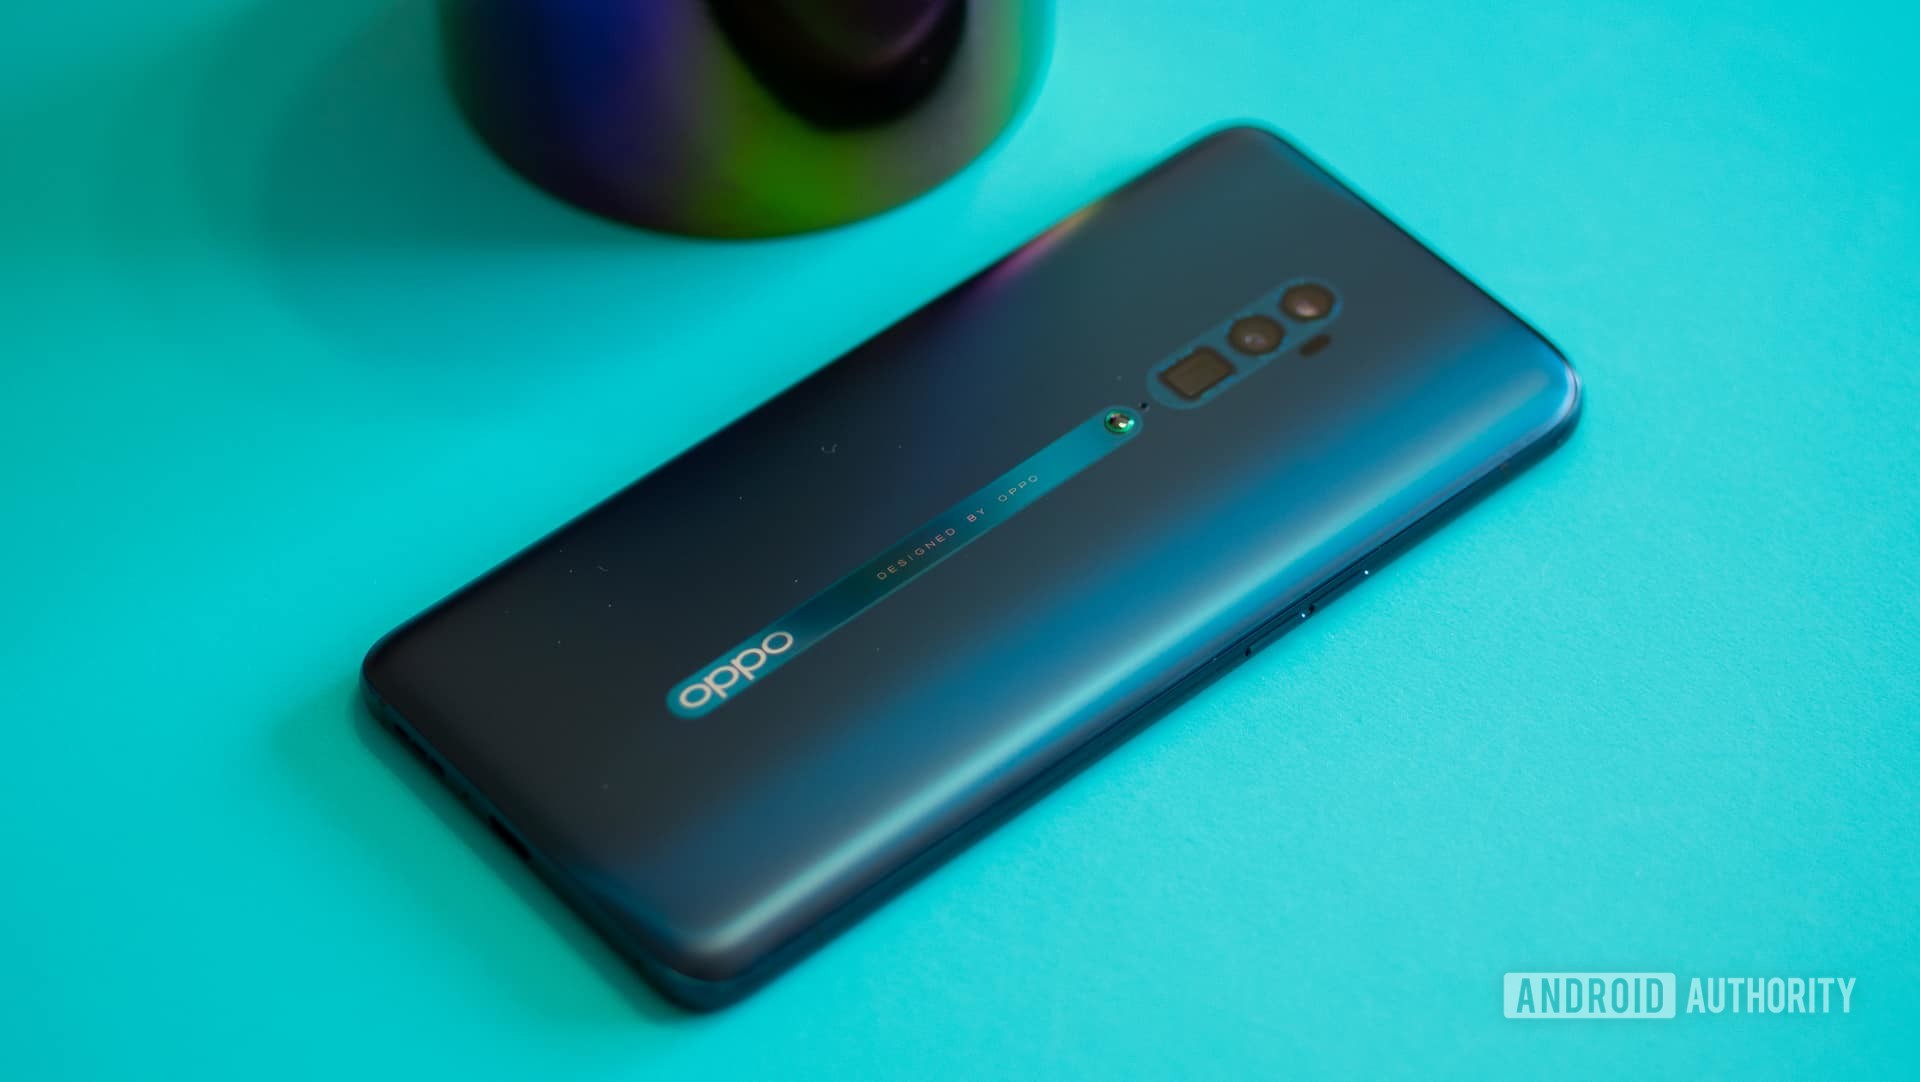
Oppo hasn’t yet posted instructions on how to get Android Q beta 3 for the Oppo Reno. We’ll update this section once that changes.
Realme 3 Pro
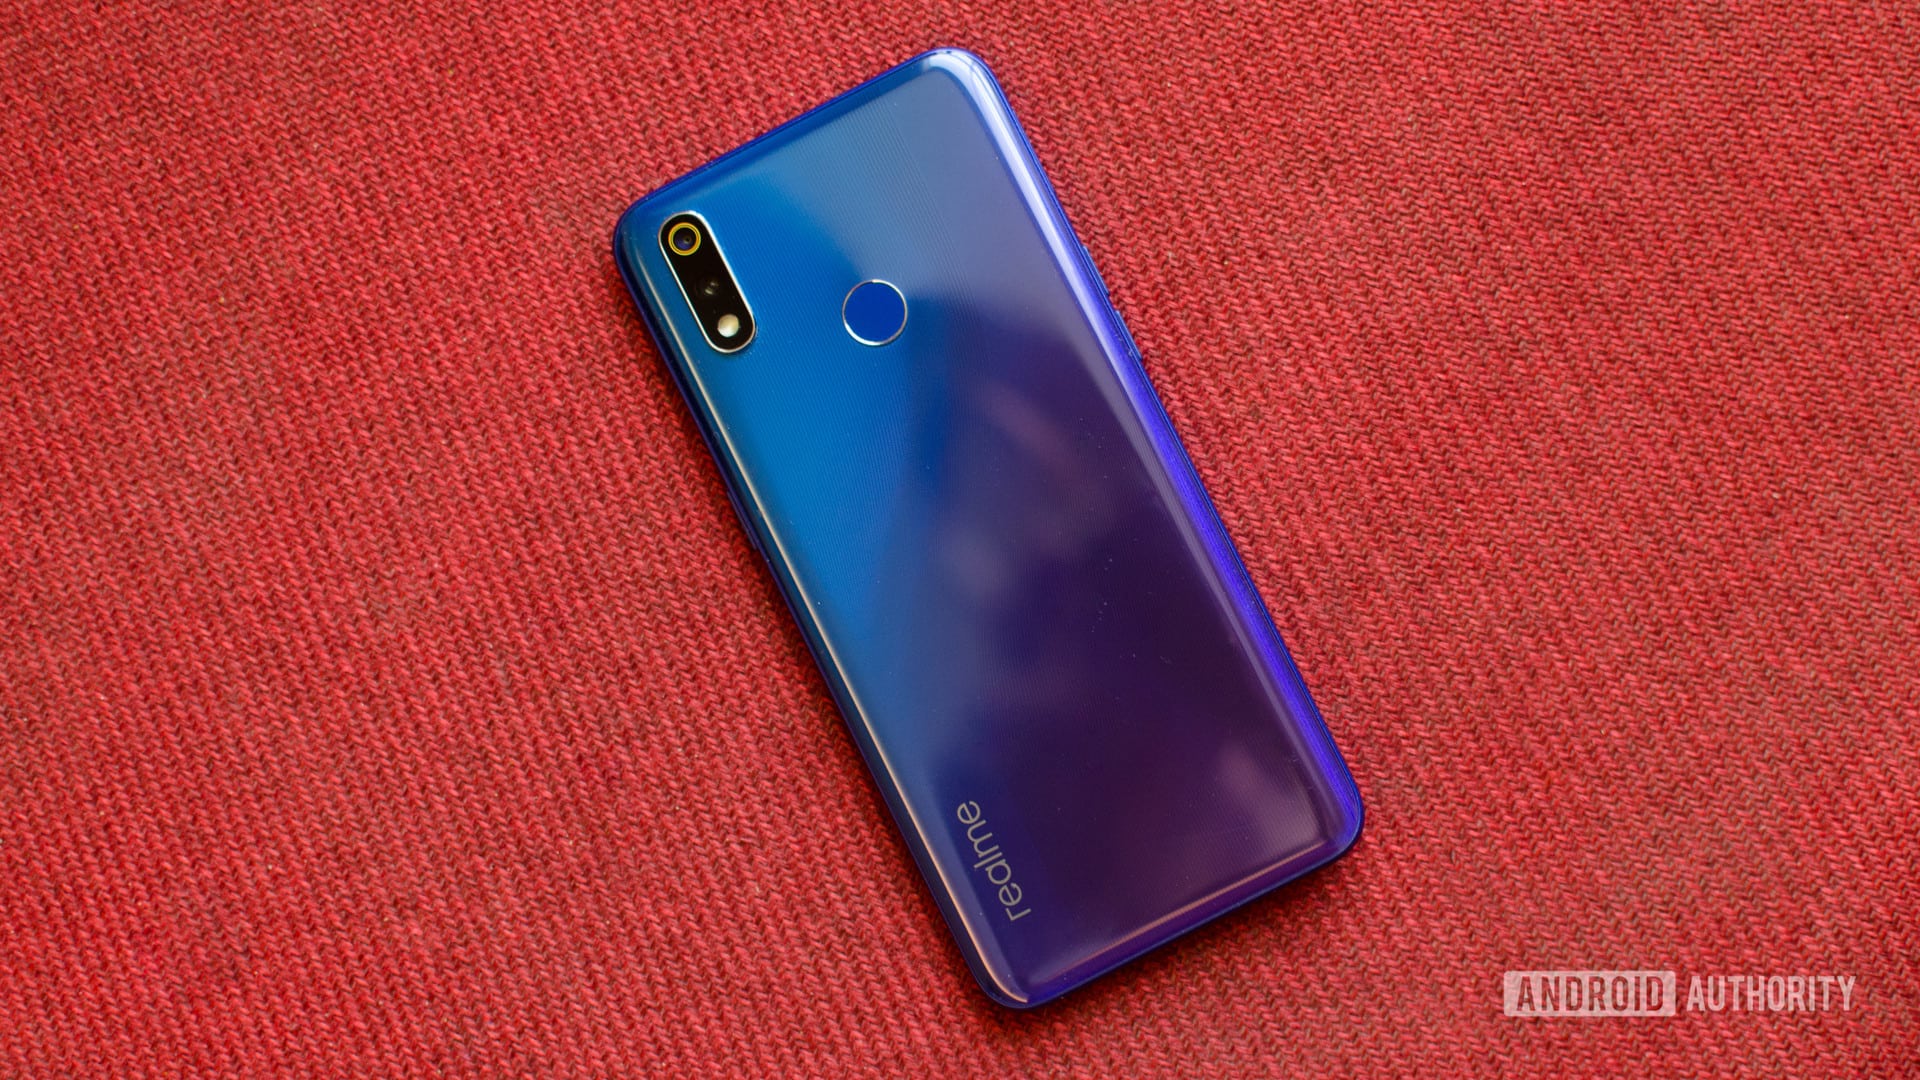
Realme hasn’t yet posted instructions on how to get Android Q beta 3 for the Realme 3 Pro. We’ll update this section once that changes.
Sony Xperia XZ3
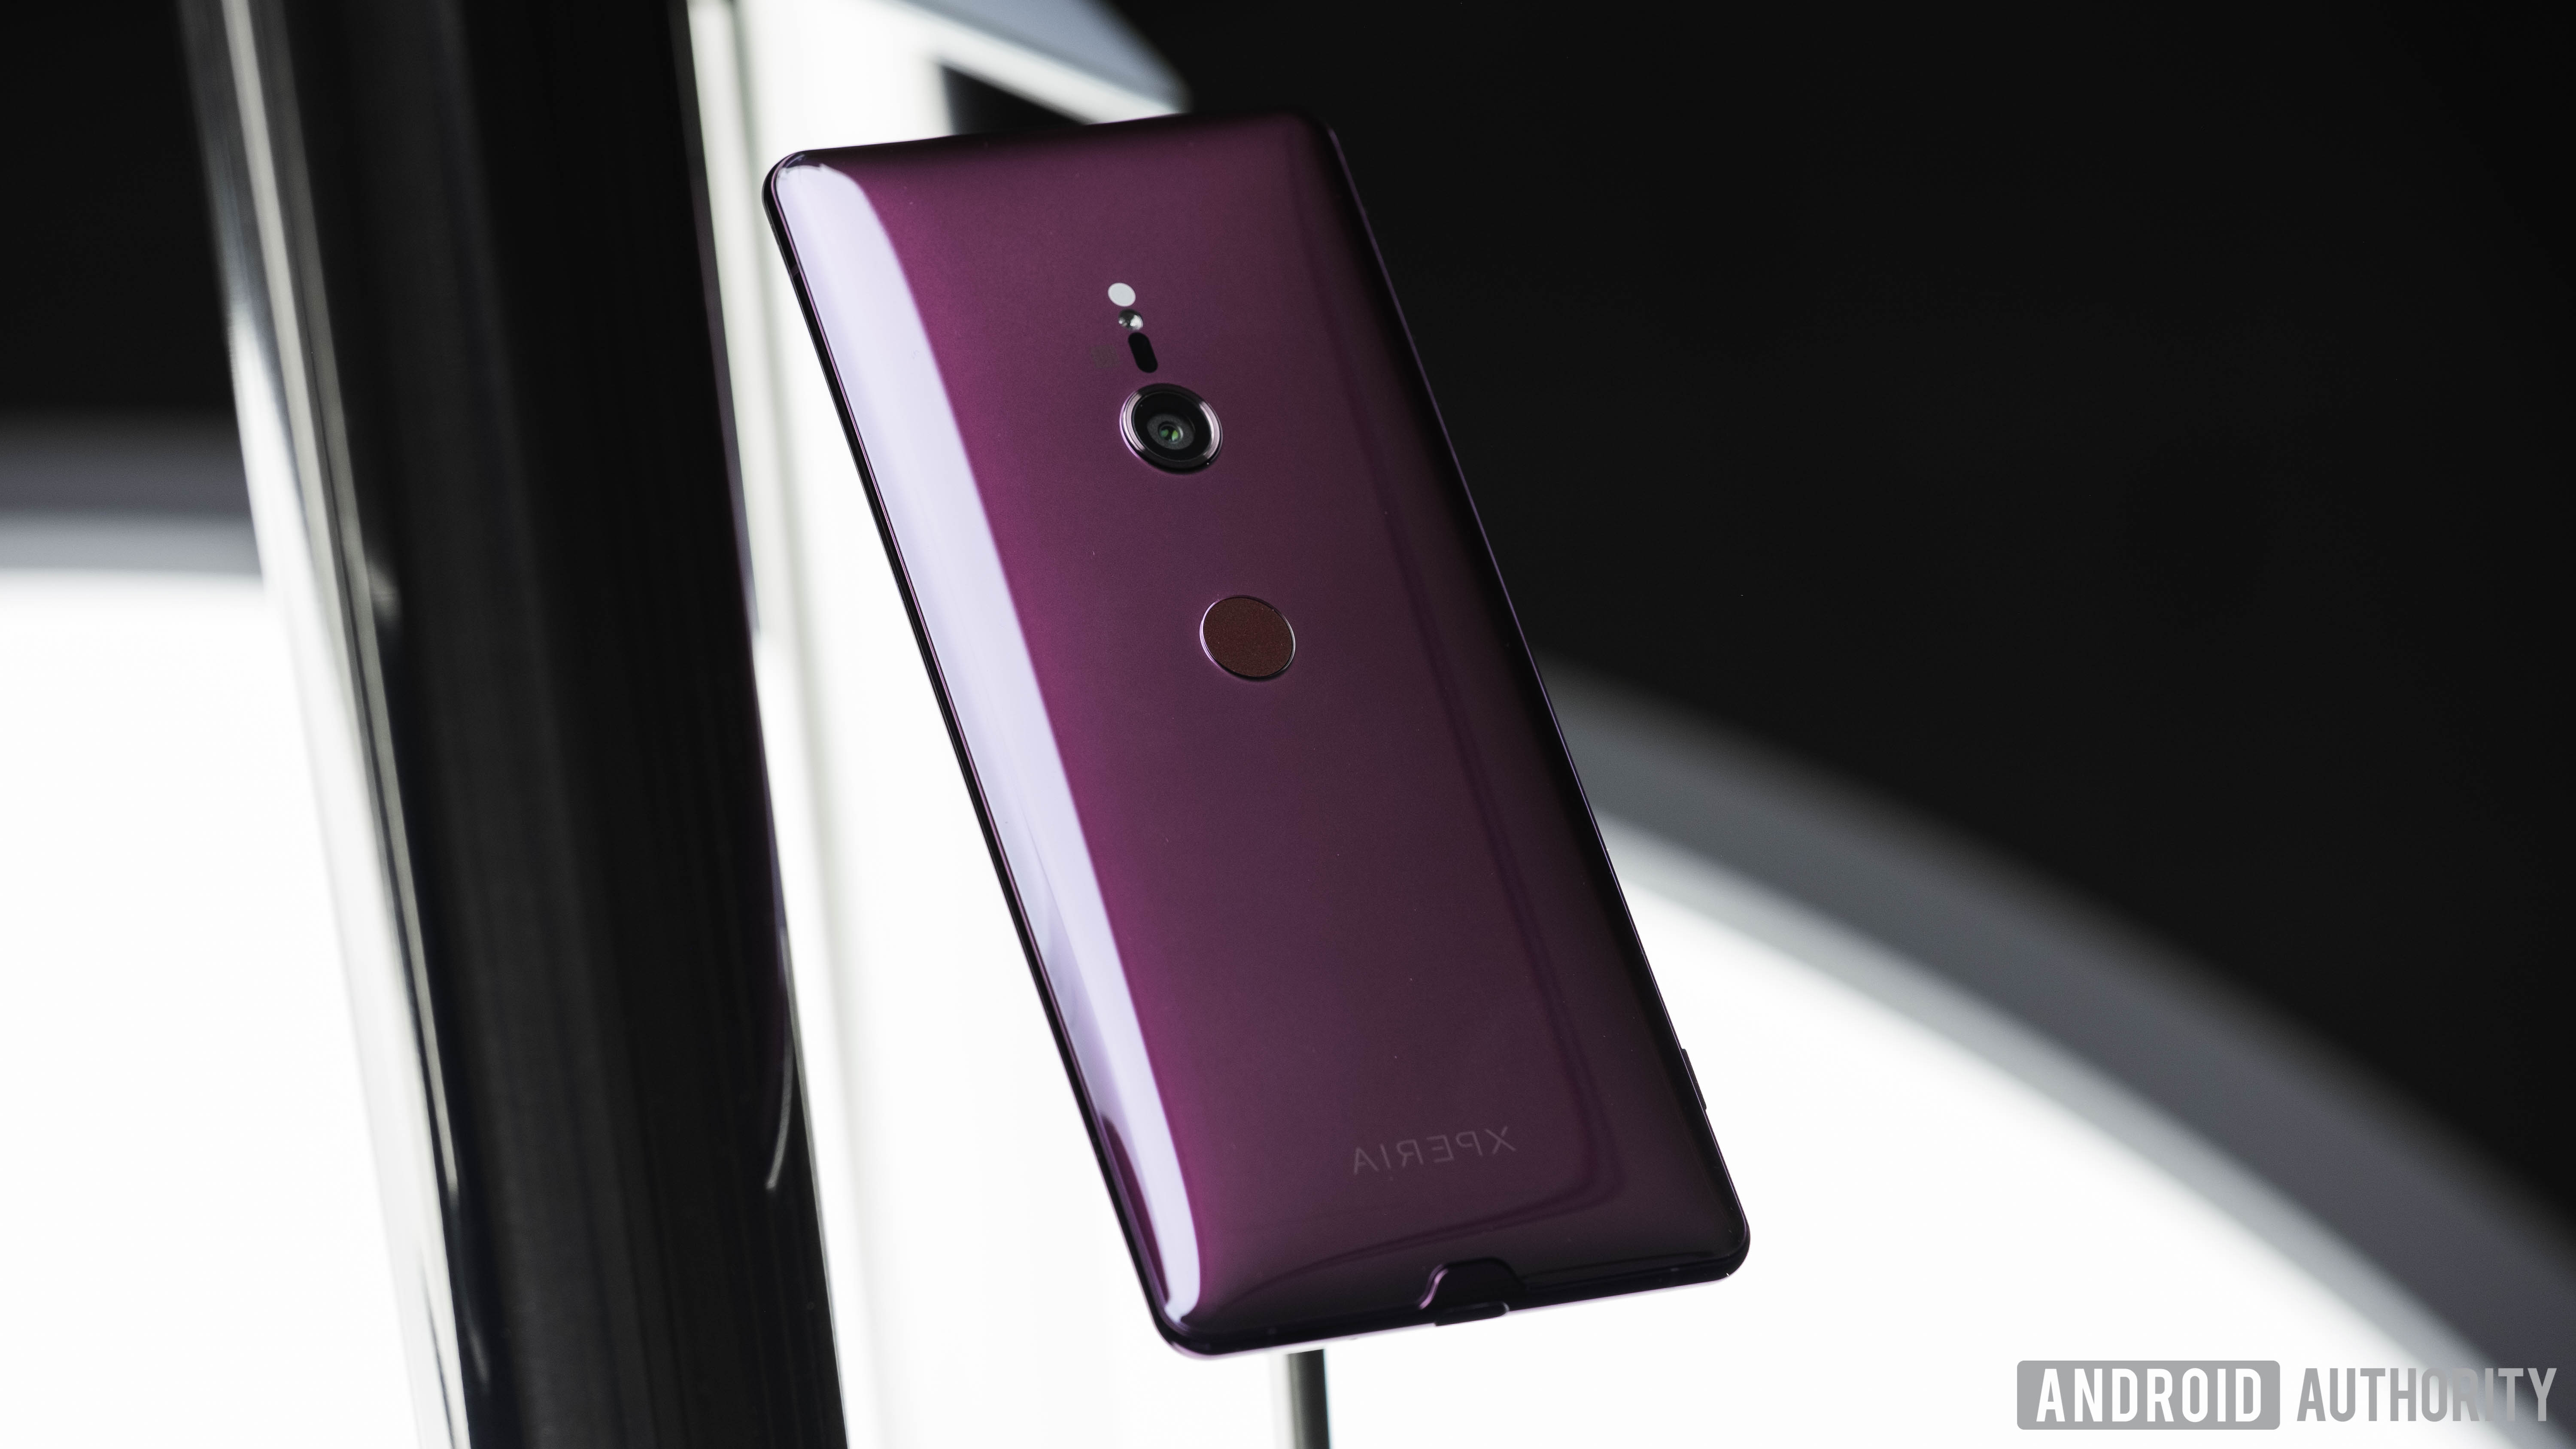
Sony notes that only versions H8416, H9436, and H9493 of the Xperia XZ3 support Android Q beta 3. Also, Sony advises that device owners factory reset their devices before flashing the software.
- Go here to download the latest version of the Xperia Companion app on your PC.
- Start the Xperia Companion app.
- Hold down the Alt key on your keyboard and click on Software Repair on the homescreen.
- Tick the checkbox My device cannot be detected or started, then click Next.
- Wait for the initialization to complete, then follow the on-screen instructions.
Every subsequent software update for Android Q will be an OTA update. As such, you don’t have to use the Xperia Companion app unless you want to return to factory settings.
Tecno Spark 3 Pro
![]()
Tecno hasn’t yet posted instructions on how to get Android Q beta 3 for the Spark 3 Pro. We’ll update this section once that changes.
Vivo X27
![]()
Vivo notes that the first version will be released this month, with the second version releasing in early July. Once Android Q is available to the public, Vivo will no longer release beta updates.
- Download the Android Q beta firmware for the Vivo X27.
- Copy the firmware package to the root directory of the Vivo X27’s storage.
- Tap on the software package, then select Start Upgrade when prompted.
Vivo Nex S
As previously mentioned, there will be an update in early July. Vivo will end the beta program once Android Q is publicly available.
- Download the Android Q beta firmware for the Vivo Nex S.
- Copy the firmware package to the root directory of the Vivo X27’s storage.
- Tap on the software package, then select Start Upgrade when prompted.
Vivo Nex A
![]() As previously mentioned, there will be an update in early July. Vivo will end the beta program once Android Q is publicly available.
As previously mentioned, there will be an update in early July. Vivo will end the beta program once Android Q is publicly available.
- Download the Android Q beta firmware for the Vivo Nex A.
- Copy the firmware package to the root directory of the Vivo X27’s storage.
- Tap on the software package, then select Start Upgrade when prompted.
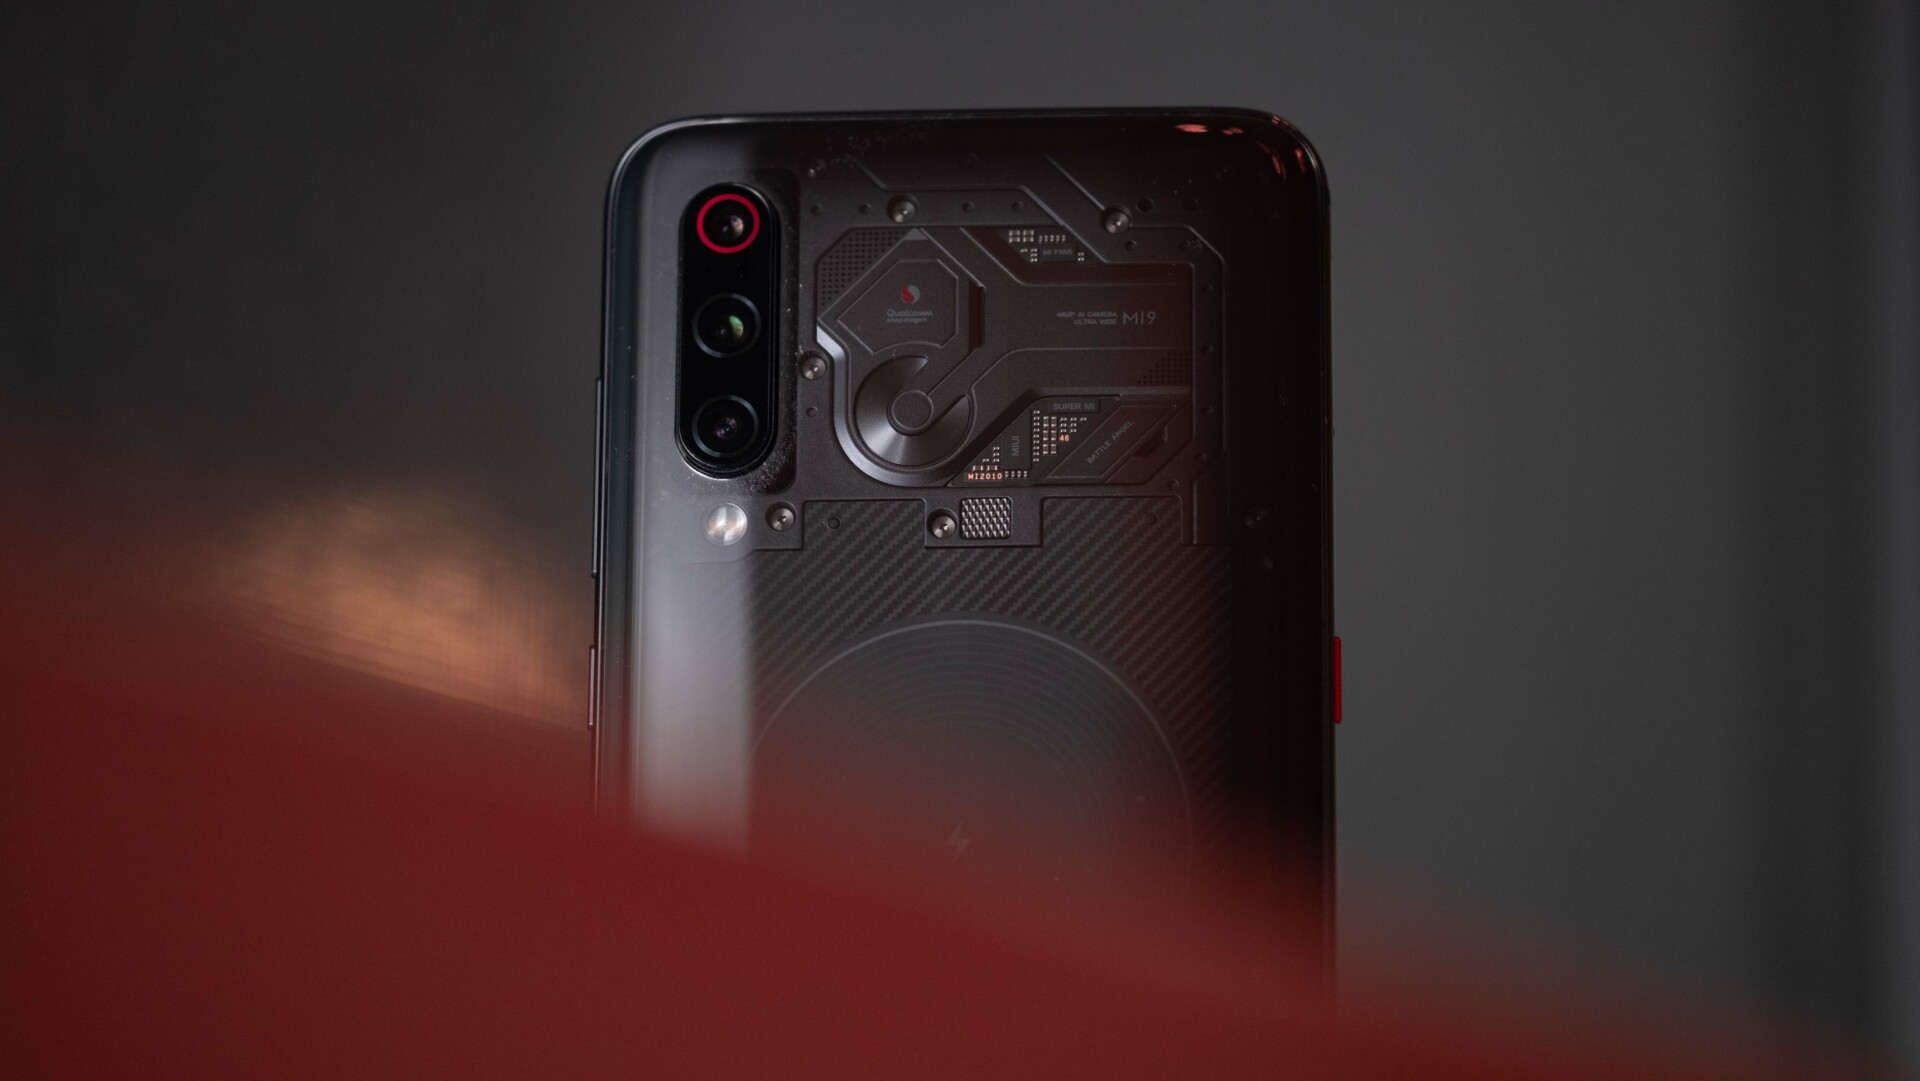
Xiaomi Mi 9
Xiaomi notes that there are seven known issues with Android Q beta 3 for the Mi 9. You can read the known issues below.
- Alarm does not ring when the device is switched off.
- Device restarts after user selects wireless projection device in the Wireless display.
- Settings app stops running after user deactivates shortcut to mute device.
- Settings app stops running when Gesture is selected in Settings.
- File app stops running after refresh.
- Unable to switch screen color in Settings.
- Unable to add a fingerprint.
Also, you must opt-in through the fastboot method that’s listed in the steps below.
- Download the Android Q beta firmware for the Xiaomi Mi 9.
- Download the MIUI ROM Flashing Tool.
- Unlock your device.
- Turn off your Mi 9.
- Press and hold the Volume Down and Power buttons to enter Fastboot mode.
- Connect the Mi 9 to your PC.
- Double-click the downloaded firmware to decompress it.
- Open the file folder for the decompressed firmware and copy its path on the PC.
- Once the MIUI ROM Flashing Tool is installed, open MiFlash.exe and paste it into the address bar the firmware file folder path copied in the previous step.
- Click the first button (circled out in yellow) to refresh.
- Click the second button (circled out in red) to flash the firmware to your Mi 9.
If these steps don’t help you, you can download the Mi PC Suite. From there, put your Mi 9 in Fastboot mode, connect the phone to your PC, and select the firmware.
Xiaomi Mi Mix 3 5G
![]()
Xiaomi notes that there are seven known issues with Android Q beta 3 for the Mi Mix 3 5G. You can read the known issues below.
- Alarm does not ring when the device is switched off.
- Device restarts after user selects wireless projection device in the Wireless display.
- Default print service stops after device connects to Wi-Fi to print photos from gallery.
- Settings app stops running after user deactivates shortcut to mute device.
- Settings app stops running after user selects “Gestures”.
- File app stops running after refresh.
- Unable to switch color in settings.
- Settings app crashes after Automatic brightness is selected.
Also, you must opt-in through the fastboot method that’s listed in the steps below.
- Download the Android Q beta firmware for the Xiaomi Mi Mix 3 5G.
- Download the MIUI ROM Flashing Tool.
- Unlock your device.
- Turn off your Mi Mix 3 5G.
- Press and hold the Volume Down and Power buttons to enter Fastboot mode.
- Connect the Mi Mix 3 5G to your PC.
- Double-click the downloaded firmware to decompress it.
- Open the file folder for the decompressed firmware and copy its path on the PC.
- Once the MIUI ROM Flashing Tool is installed, open MiFlash.exe and paste it into the address bar the firmware file folder path copied in the previous step.
- Click the first button (circled out in yellow) to refresh.
- Click the second button (circled out in red) to flash the firmware to your Mi Mix 3 5G.
If these steps don’t help you, you can download the Mi PC Suite. From there, put your Mi Mix 3 5G in Fastboot mode, connect the phone to your PC, and select the firmware.
And that’s it! Let us know in the comments if you have any of the devices listed here and plan to install Android Q beta 3.