Most people describe Tasker as a task control and automation app. I see an Android programming app for the masses. Instead of scaring you with code lines, Tasker lets you use a friendly interface to create mini Android apps that do your bidding.
Learning how to use Tasker exhaustively is beyond the scope of this post. Instead, we’ll go over the basics of using Tasker to program your Android device to do what want according to rules you specify. Let’s get started.
Figuring out Tasker’s UI
Tabs
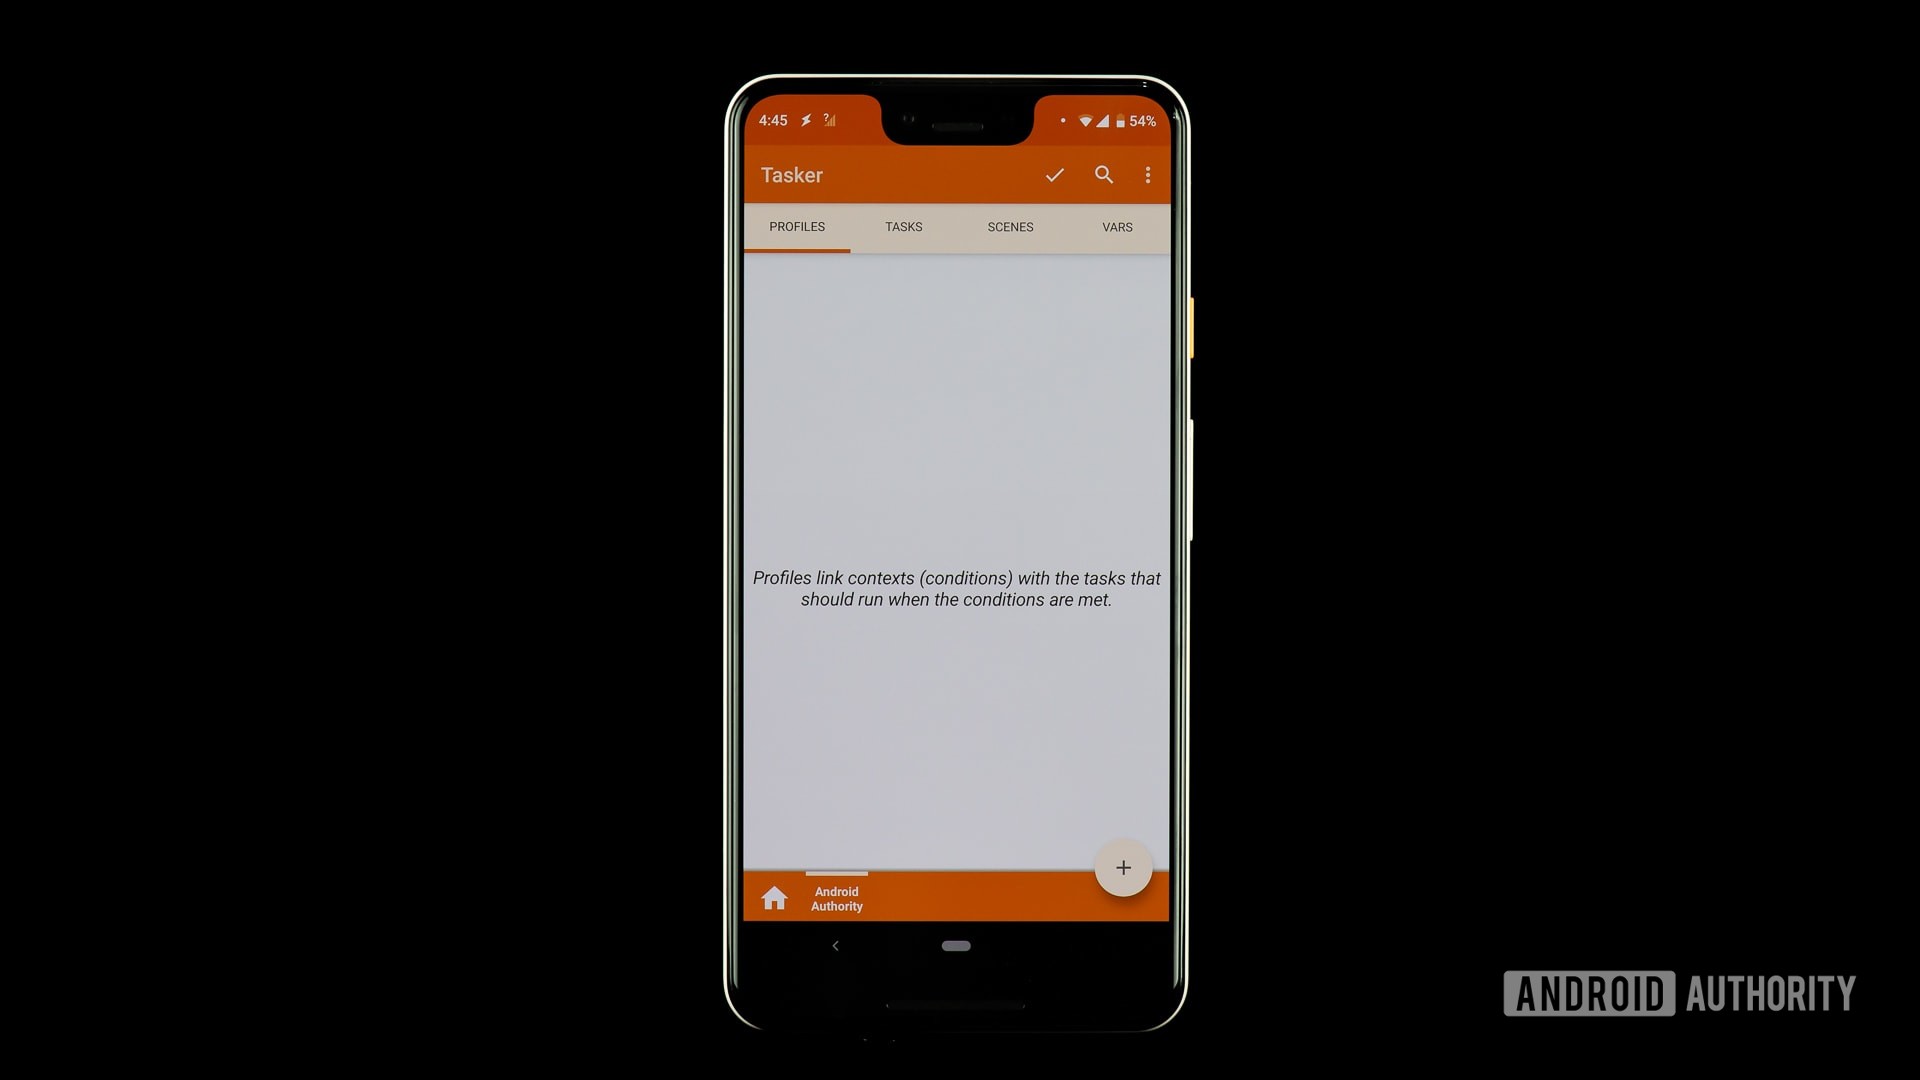
Tasker has been optimized for simple navigation and the UI is very clean. There are four tabs at the top of the interface: Profiles, Tasks, Scenes, and Vars (short for variables).
- Profile — Some sort of container or package for contexts and linked tasks. You can define several contexts for a single profile, and all those conditions must be true for the linked tasks to run.
- Task — A group of actions. Usually linked to a trigger or context, but can also be a free-floating, standalone task executed manually.
- Scene — A custom-made user interface. You can create your own layout of buttons, menus, popups, and other UI elements.
- Variable — A name for an unknown value that can change over time, like the battery level or the date.
Projects
You can create Project tabs, which essentially work as folders for organizing profiles, tasks, scenes, and variables. These will be displayed along the bottom of the UI, next to that lonely home button icon.
These are simply a way to keep things in order within the app. You could create projects for email commands, location settings, vacation time, or whatever you wish.
Main menu
The main menu button is located in the top-right corner. Tap it to display all settings and options. It can get pretty confusing in there, so try not to play too much with it at first. We will use it briefly in the next section, so don’t go playing with it just yet.
Set up permissions and grant access
Tasker has the power to control your phone extensively, but you must first give it permission. Make sure the app can do everything you want it to from the get-go, as the pop-ups and access requests can get annoying.
- Open Tasker.
- Hit the Main Menu button.
- Select “More.”
- Select “Android Settings.”
- You will be presented with a list of settings. Go through each one and make sure Tasker has access to everything.
Of course, you can always choose not to give Tasker access to specific things, but that will obviously affect the app’s functionality.


Profiles and tasks
In a nutshell, profiles determine when you want Tasker to do something, while tasks dictate what to do.
It may also help to think of a task as a sequenced list of things to do. For instance, you may want to set up a night mode. This could force the phone to go into Do Not Disturb, lower the brightness, and turn off unnecessary features (GPS, Bluetooth, and more) at a certain time.
In this situation you would use a profile to tell Tasker when to activate this night mode. You can then set up actions in the tasks section.
Creating a profile and task
To illustrate the concept of tasks and actions more clearly, let’s try actually creating this night mode task.
- Create a new profile:
- Open the “Profiles” tab.
- Tap on the “+” button.
- Name your profile. I will call this one “Night Mode.”
- Select when you want tasks to take place. I will select 8 p.m. to 8 a.m.
- Hit the back button.


- Create a new Task:
- You will be prompted to create (or select) a task. Create a new one and name it “Minimal.”
- You will enter the “Task Edit” page. Press the “+” button to create an action.
- Select “Audio.”
- Select “Do Not Disturb.”
- The “Mode” section will allow you to set your specific preferences. You can let alarms or priority contacts come through, for example.
- Hit the back button. Now your first action has been created. On to the next one.
- Tap on the “+” button again.
- Select “Display.”
- Select “Display Brightness.”
- Under “Level,” select your desired brightness. Then hit the back button again.
- For the next action we will turn off GPS. Simply hit the “+” button again.
- Select “Location,” then select “Stop Location.”
- To turn off the Bluetooth, we simply press the “+” button, select “Net,” select “Bluetooth,” and set the option to “off.”
- Hit the back button and your night mode is ready!


This is the basic way to automate actions in your phone using Tasker. It’s just the tip of the iceberg, though. You can ask Tasker to interact with apps, show notifications with custom messages, use location to launch tasks, and much more.
Our idea is to show you how Tasker functions. For more advanced automation you can always search the internet or simply come up with your own tasks and profiles! We have also provided links with custom Tasker tutorials at the end of this post.
Adding an exit task
An exit task will tell Tasker what to do when a profile is no longer active.
Let’s stick to our example above. At 8 p.m. the phone will lower the screen brightness, turn Do Not Disturb on, and turn off GPS and Bluetooth. What happens after that?
You can create another task that does the opposite of what “Minimal” did. Then simply go to the profiles tab and long-press the task name. Tap on “Add Exit Task” and select your exit task.


Importing and exporting
To import a saved task into Tasker, just tap the “Tasks” tab, select “Import Task” from the menu, browse for the file, and tap to import it. Importing profiles, scenes, and projects works the same way.
To export a task, long-tap on the task name, then tap on the menu button and select “Export.” Again, exporting other elements works the same way.

How to delete a profile, task, or scene
To delete a profile, task, or scene, long-tap on the name, then tap the trash icon. For variables the trash can is replaced with an “X” button.
Rearranging actions in a task
To move an action up or down a list of actions, just tap and hold on the action’s icon at the rightmost side of the action name, then drag and drop the action name to its new location.
Running a task manually
Open the “Tasks” tab. Tap on the task to be run, and the “Task Edit” screen will open. Tap the play button at the bottom of the screen. This is good for testing whether your tasks actually work.
Scenes
Scene creation is actually an advanced topic that deserves its own separate tutorial, but I’ll briefly talk about it here.
A scene is a custom user interface you build from scratch. It can use elements you usually find on UIs, including buttons, doodles, images, maps, menus, shapes, sliders, text boxes, text input fields, and web viewer boxes. Each element is customizable.
Variables
If you’ve ever done some programming before, you’ll be familiar with the concept of variables. They’re close kin to the variables you hear about in algebra class. To define it simply, a variable is a name for a value that changes over time.
Just like scene creation, Tasker variables are also complex topics that deserve their own separate tutorials. I’ll talk briefly about them though, just so you know what immense power you’ll get if you just patiently climb the steep hill of learning how to use Tasker.
Tasker variables always begins with the percent (%) symbol. Variables in all uppercase are built-in variables. They are usually derived from system information, device states, or events. Some common examples are %TIME (current time), %DATE (current date), %BATT (current battery level), and %WIFI (whether Wi-Fi is enabled or not).
Aside from built-in variables, there are two other variable types: local and global. Both are user-defined and user-created. The main difference between them is that local variables can be used only within the task or scene in which they are created, defined, or used; global variables are accessible to all of Tasker. Another main difference is in capitalization: local variables use all lowercase but global variables have at least one uppercase letter in its name.
Okay, nearly done. If you want to learn more about how to use Tasker, or review in a visual way what I’ve discussed so far, watch our video tutorial in the next section.
Some awesome Tasker projects to try out
- Android customization – Device security, intrusion detection using Tasker
- Android customization – voice activated camera control using Tasker and an Android Wear smartwatch
- Android customization – remote camera trigger with Android
- Backup your SMS, MMS and call log automatically – Android customization
- How to create custom, actionable notification on your homescreen – Android customization
- How to create an advanced battery log using Tasker – Android customization
- Build real-time battery drain warnings using Tasker – Android customization
- Selfie message board with Tasker – Android customization
- Schedule a delayed SMS message with Tasker – Android customization
- Create your own voice activated reminders using Tasker – Android customization
Conclusion
Tasker is a powerful, complex, and flexible automation and programming app, but it can be intimidating. It has a steep learning curve. It takes time to become familiar with it, and much more to be proficient, but the time will definitely be worth it. It’s a small price to pay for the power, flexibility, and control that Tasker allows you to wield over your Android device.
Do you use Tasker? What do you use it for? Or, are you new to Tasker? How’s your experience with it so far? Share your Tasker experiences with us. Sound off in the comments.