Photographers argue the best camera is the one you have with you, and in most cases that would be your handy smartphone. While handsets didn’t always make for a great photography experience, tech advancements have put them at nearly the same level as many dedicated cameras. Having a quality camera is only half the battle, though. You need to learn how to make the most of it, and nothing beats shooting in manual mode.
Using manual controls you can manipulate settings to produce the image you really want. We know manual mode can be intimidating for casual users; especially those with no knowledge of advanced camera theory. While it is true Photography is an extensive subject, we can teach you the basics and have you shooting manual with your smartphone in no time.


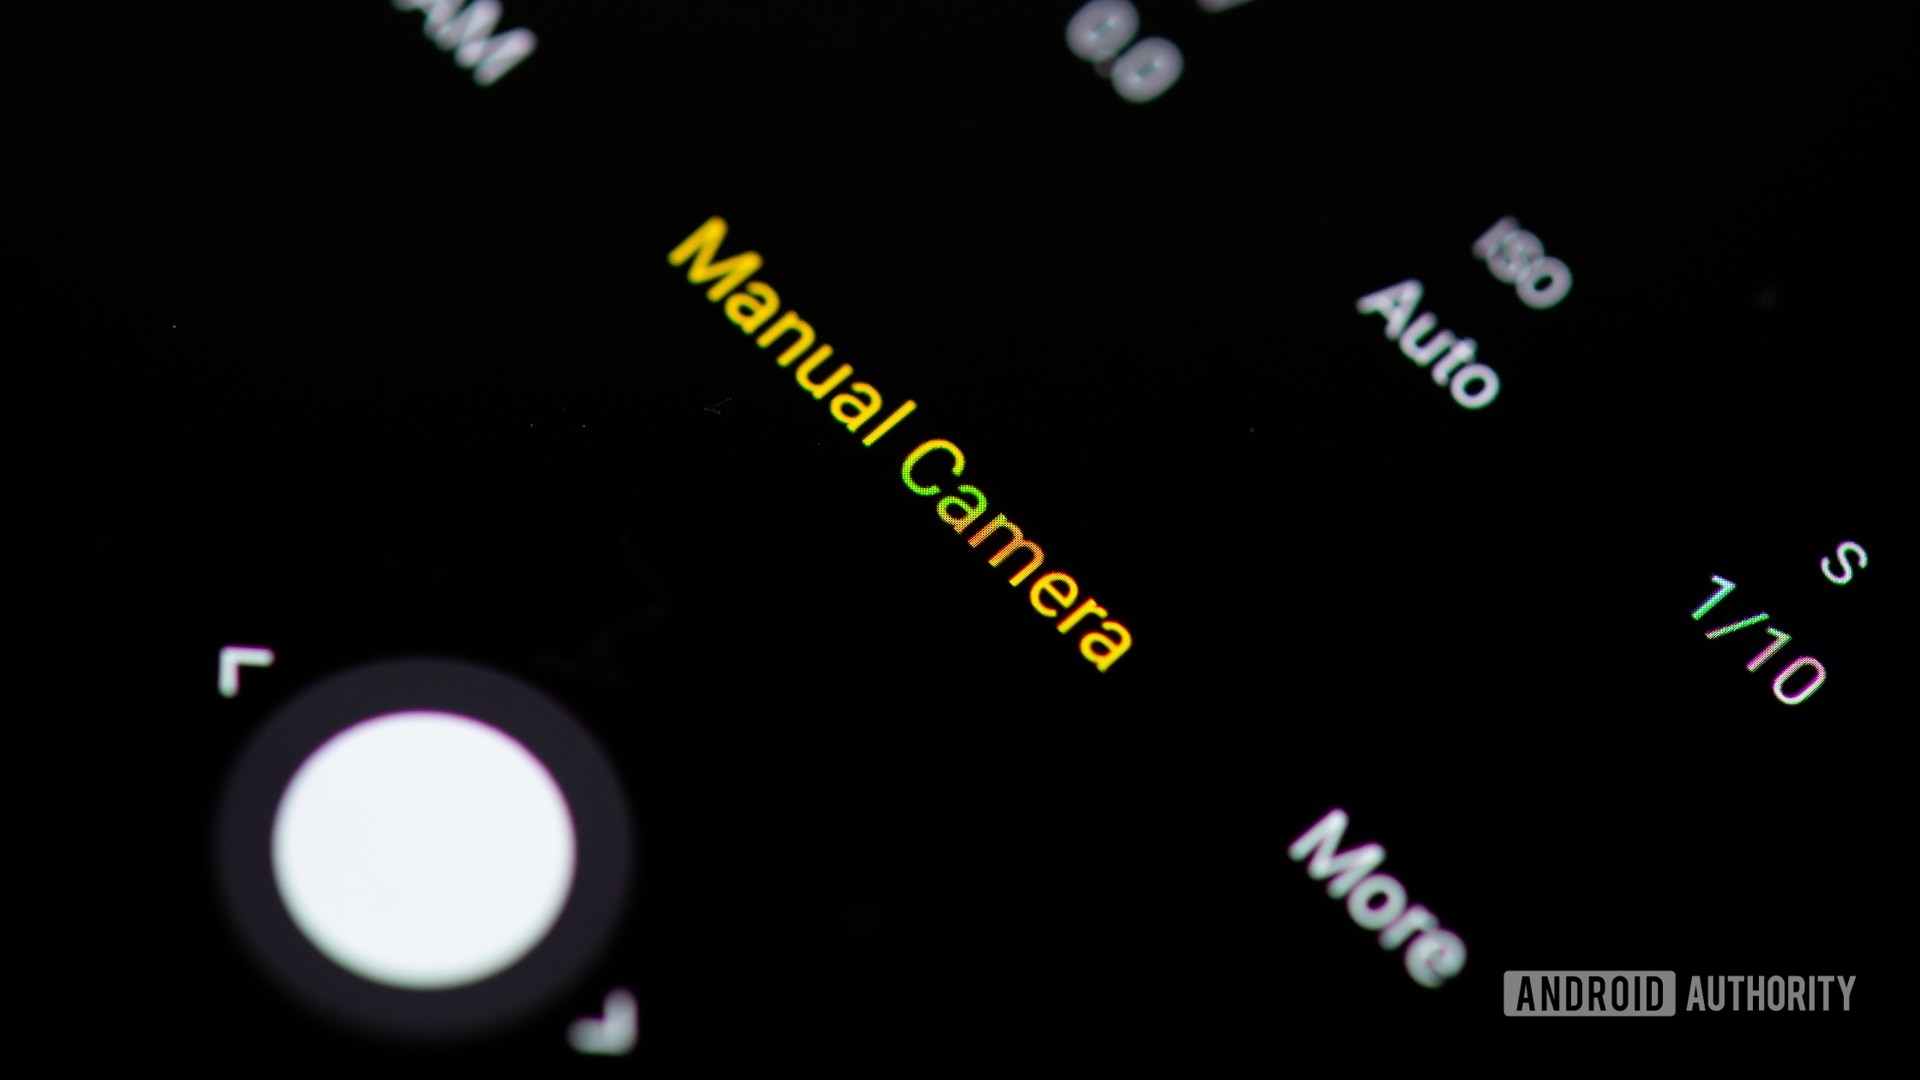
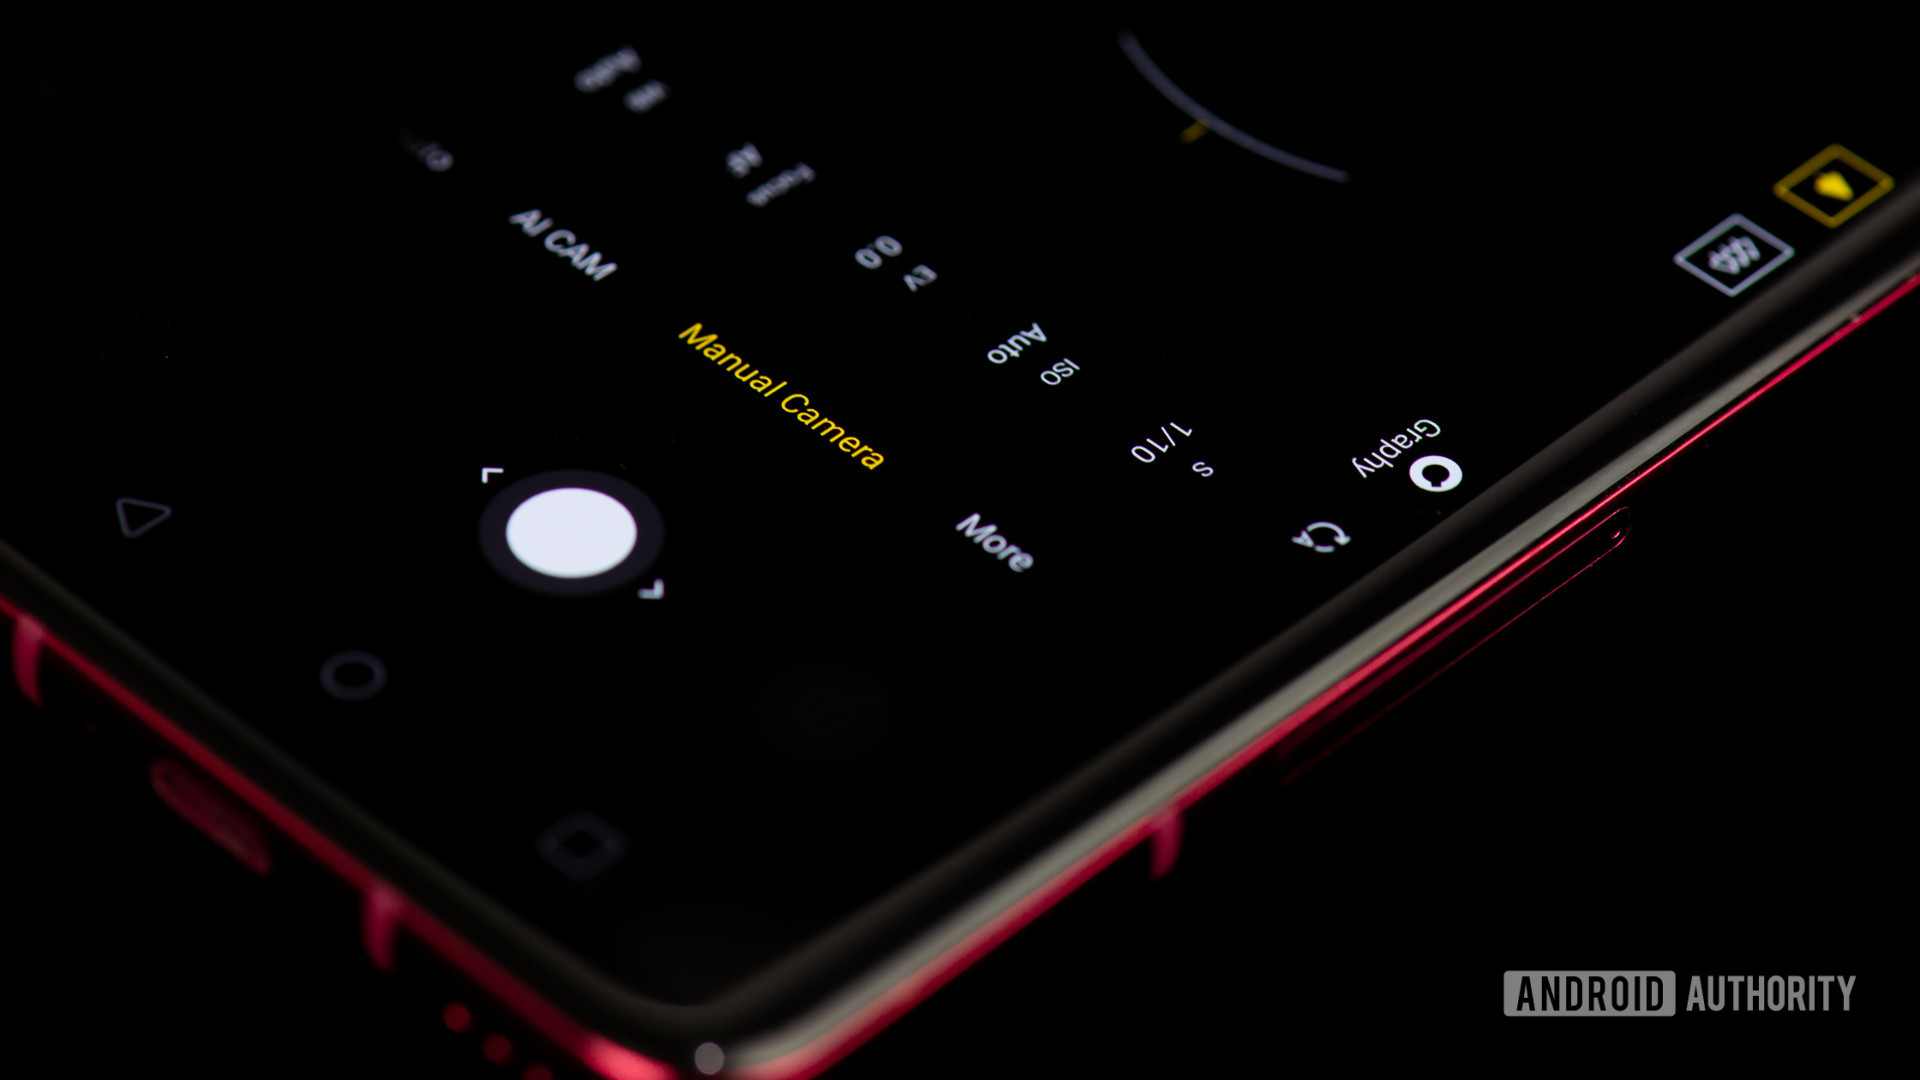
Does my smartphone camera have manual mode?
Most recent smartphones come with some form of a manual mode within the camera app. They might get fancy and call it pro mode, or something along those lines. Simply go into the camera app and look at your shooting modes to find out if your phone has manual shooting capabilities.
The Pixel 3, known for having one of the best smartphone cameras, doesn’t come with a manual mode.
Don’t freak out if it doesn’t, as some phones don’t come stock with a manual camera mode. The Pixel 3, known for having one of the best smartphone cameras, doesn’t come with a manual mode. Don’t feel left out if yours doesn’t have one either.
Good news is we are dealing with Android and anything is possible. Your camera app doesn’t have a manual mode? Just go and download one from the Google Play Store.
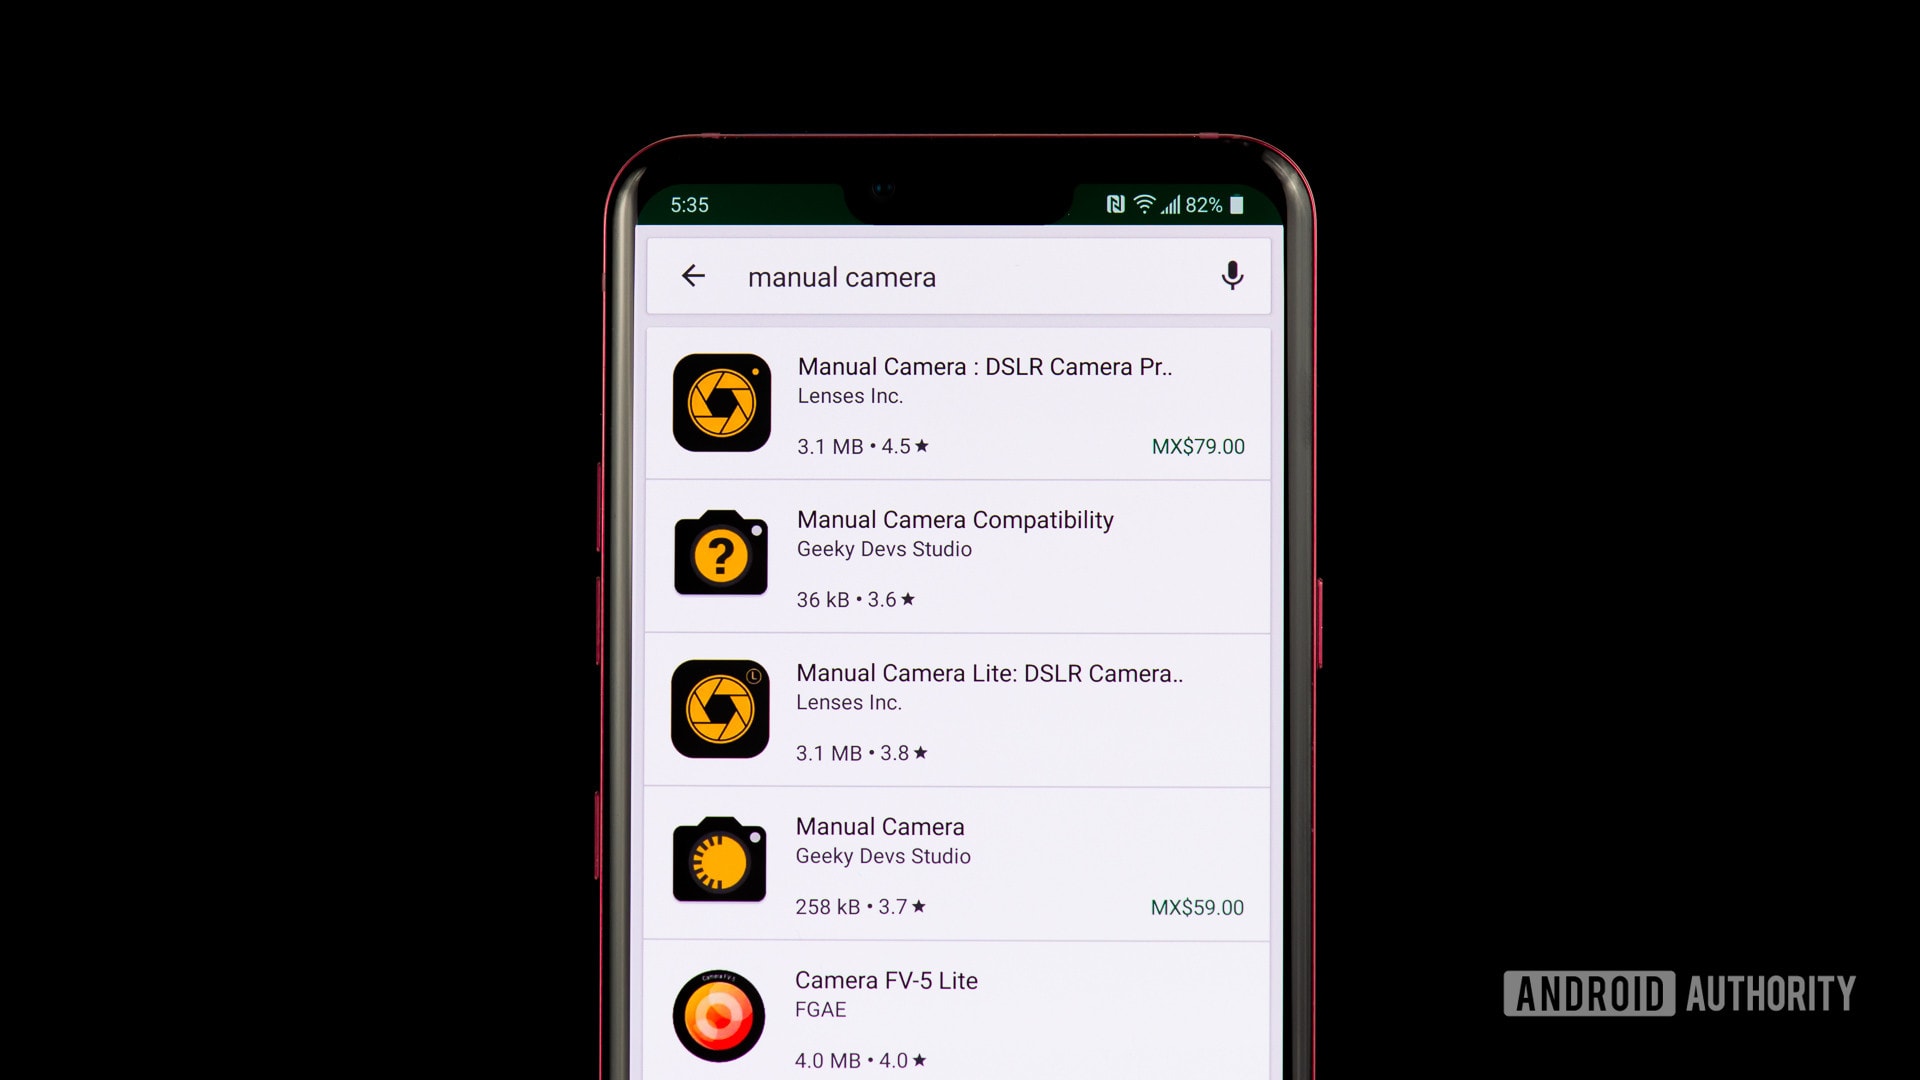
Here are some of our favorite third-party camera apps with manual mode:
- Manual Camera DSLR Camera Professional ($4.99)
- Manual Camera Lite: DSLR Camera Professional (FREE)
- ProShot ($3.99)
- Open Camera (FREE)
- Camera FV-5 ($3.95)
- Camera FV-5 Lite (FREE)
Now that you have found your stock camera’s manual mode, or found an alternative one, let’s jump right into the fundamentals of manual mode shooting.


Exposure triangle

Let’s start by understanding what it takes to expose an image correctly. In Photography, the exposure triangle is a visualization of how ISO, aperture, and shutter speed work together. You must find a balance between these three elements to expose an image correctly while keeping in mind how altering each element affects quality.
I want to keep things very simple, so we will give you the definition of each factor and tell you how changing it affects an image.
ISO
ISO stands for “International Organization of Standardization,” which is in charge of standardizing sensitivity ratings for camera sensors. When shooting, altering the ISO will determine how sensitive a sensor is to light.
A lower ISO will make the sensor less sensitive to light, which means you might have to make the aperture wider and/or slow down the shutter speed. At the same time, the image will be cleaner.
Increasing the ISO will let you capture light faster, allowing you to speed up the shutter or widen the aperture, but it will also make for an image with more grain or digital noise. The quality of the image decreases as you increase ISO.
Shutter speed
Camera systems have a shutter that covers and uncovers the sensor. Shutter speed determines the length of time this shutter will stay open to allow more light to reach the sensor.
A faster shutter speed will result in less exposure, but it will make images sharper. Likewise, extending the shutter speed can create motion blur, but it will let light in for a longer period of time, providing more exposure.
Aperture
Camera systems have a diaphragm, which is a hole through which light has to go through to reach the sensor. Aperture controls how wide or narrow this hole is.
A wider aperture will increase exposure. It will also decrease depth of field and make the background/foreground blurrier. If you want to keep more in focus, a narrower aperture will do better, but you will have to make up for the lost exposure modifying the ISO or shutter speed. In this case, a larger number will signify a narrower aperture. For example, f/1.8 is wider than f/2.8.
This is something most won’t have to worry about, as aperture usually can’t be controlled in smartphones. The only exceptions come from Samsung. The company introduced “Dual Aperture” with the Samsung Galaxy S9, which lets you switch between f/1.5 and f/2.4. They have also used this technology with the Samsung Galaxy Note 9 and Samsung Galaxy S10 series.
White Balance
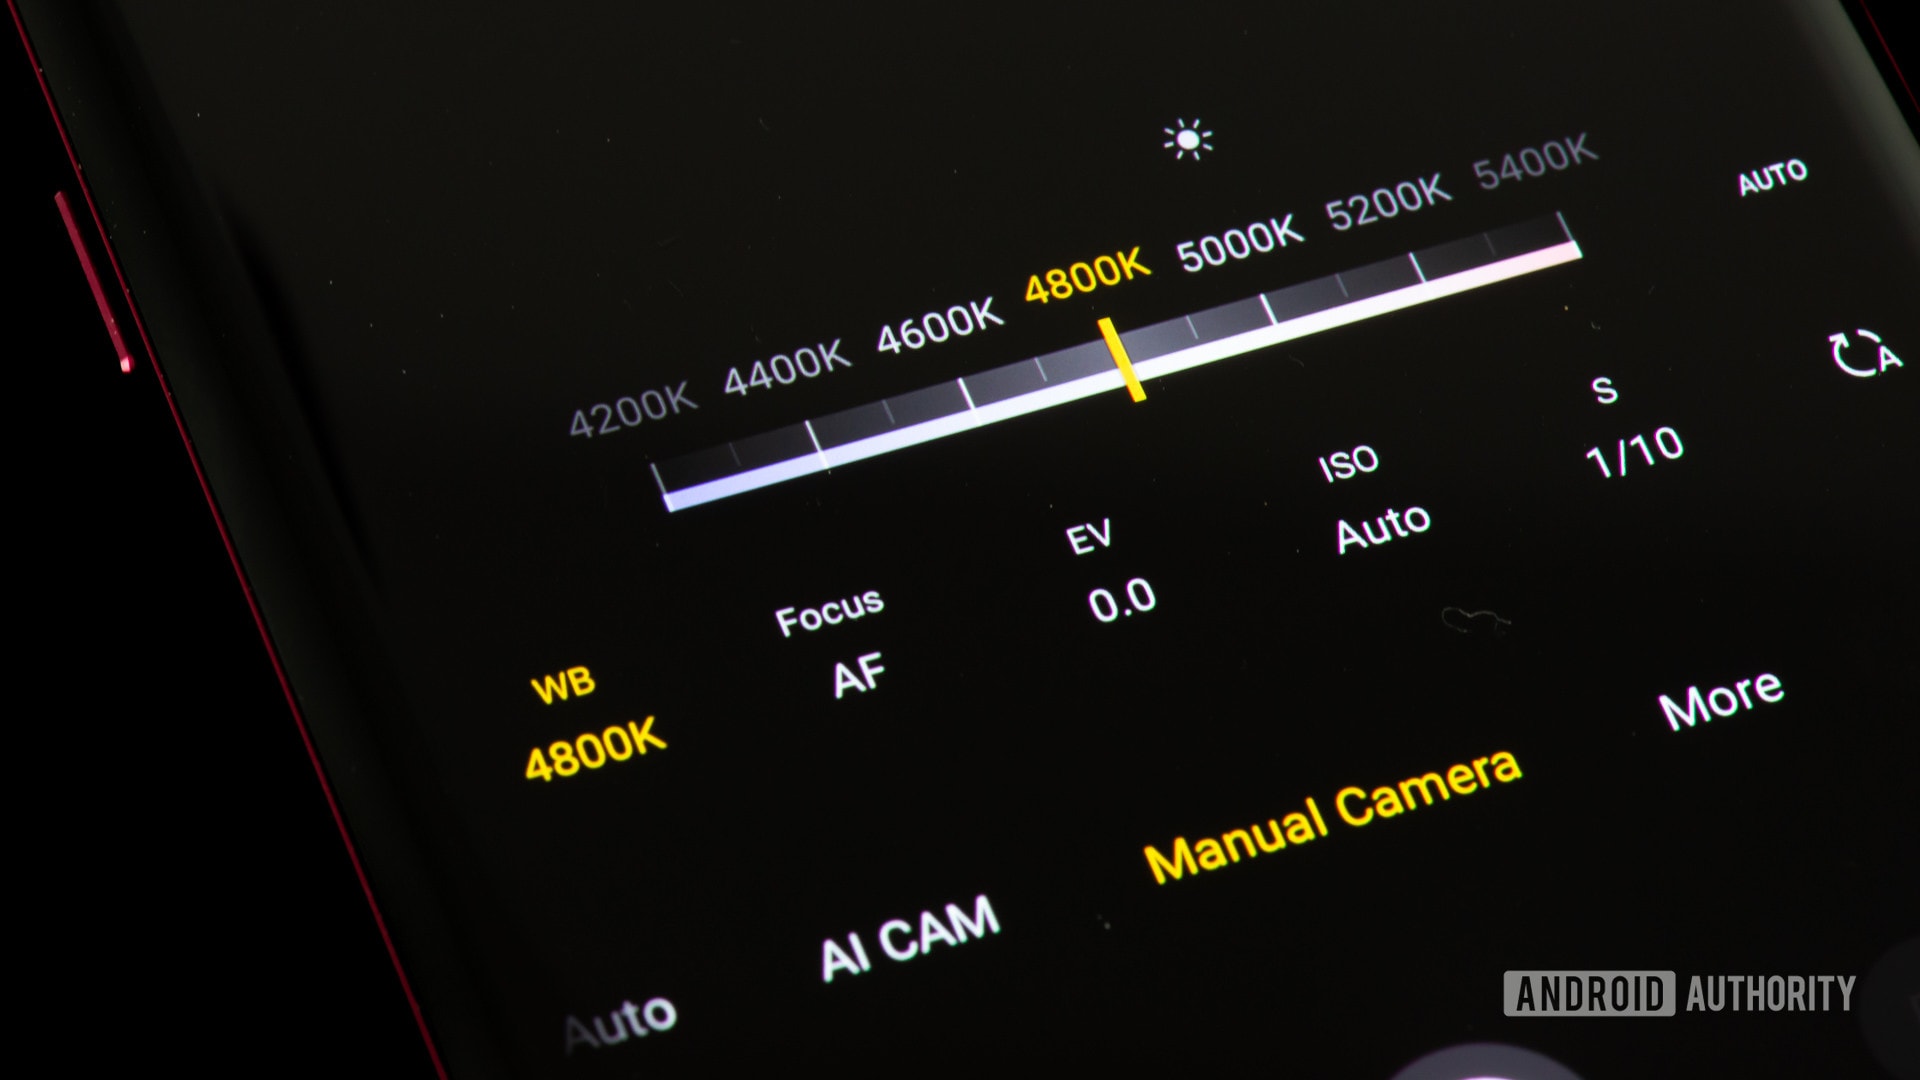
White balance is a very common setting you’ll probably find included even in basic camera apps. This setting adjusts the color that represents white light, thereby shifting all of the other colors too. This allows for the creative use of warmer and cooler shots. It is also helpful when compensating for any discoloration that your light sources may introduce. If you’ve ever noticed that your indoor shots always look orange, this is the setting you’ll want to tweak.
At the most basic level, you will probably have seen white balance settings that allow you to compensate for cloudy or sunny outdoor shots and incandescent or fluorescent lights. Above these basic settings, some apps offer up color correction using a full kelvin (K) color temperature scale. This allows for a finer tuning of the white point, between overly red at 2000K and ridiculously blue at 9000K.

Camera White Balance settings from top to bottom: Shade, Sunlight, Fluorescent, Auto, Incandescent.
An alternative to having to make this decision at capture time is to defer to taking a RAW image. Let’s talk about that!
Exposure compensation
If you have ever seen a camera button with “+” and “-” signs in it, that would be the exposure compensation control. Most smartphone cameras also have exposure compensation, and it helps when any of your settings are in auto (you can leave settings in auto, even in manual mode).
Cameras try to get the right exposure by measuring light, but they don’t always get what you intended to capture. Sometimes you do want things to look a little darker or brighter. With exposure compensation you can tell the camera it’s capturing exposure incorrectly, and it will make up for it by adjusting settings in auto (usually ISO).
Exposure compensation is usually measured by f stops like so: –1.0, –0.7, –0.3, 0.0, +0.3, +0.7, +1.0. In this case, -1.0 would be one stop less, while +1.0 is a stop higher.
Shooting RAW
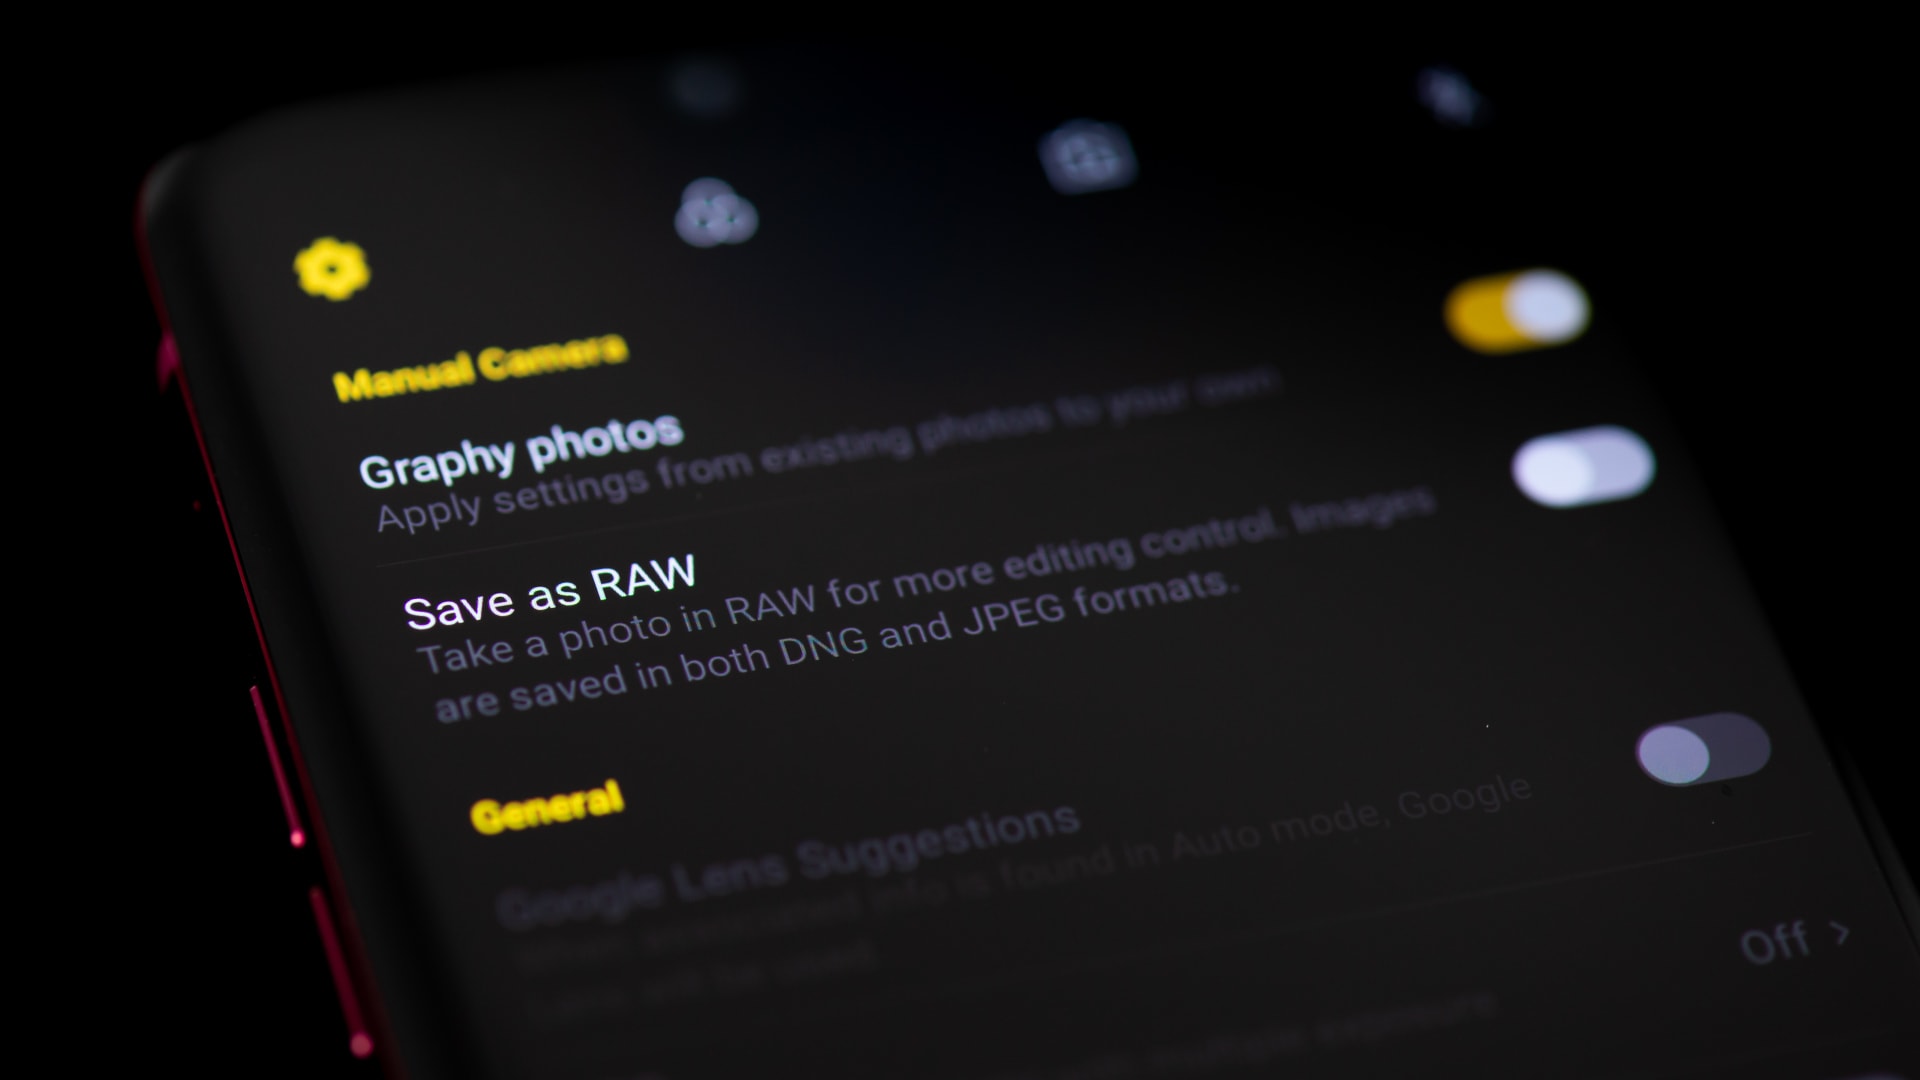
Many phones these days have RAW support. A RAW image is known as an uncompressed, unedited image file. It keeps all data captured by the sensor, making it a much larger file, but with no quality loss and more editing power. This is why RAW data by itself isn’t much to look at.
RAW should only be used if you’re planning on going back to edit your pictures. The file sizes are much larger, but this does allow you to tweak the full exposure and color settings of your pictures, bypassing the camera’s default image processing.
While saving a picture to JPEG chucks away image data and compresses the picture, this is perfectly fine if you’re planning to upload a picture to Facebook or take a quick snap for your gallery.
You don’t need an amazing camera to take a great picture, but you do need to be able to make the most of what you have. This is why a professional photographer can do amazing things even with a cheap smartphone camera. There is obviously a lot more to learn, but this is enough to get you started taking some great pictures with your smartphone camera’s manual mode.